
Propagation
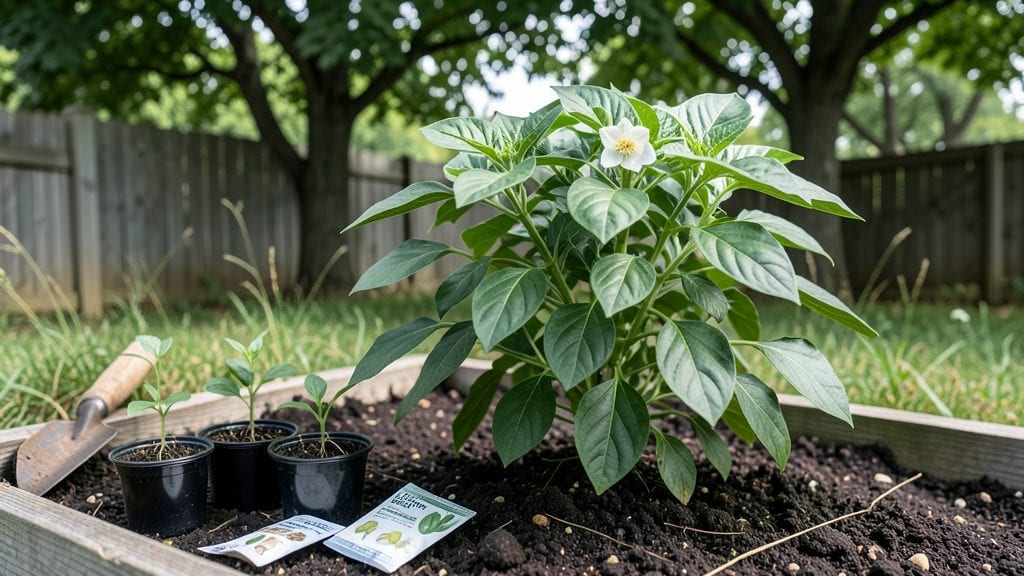
Planting hot pepper seeds is where the real heat begins—literally, within just 7 days if you use these germination tricks. 🌱 I’ve grown over 20 varieties, and the difference between a slow, spotty start and a fast, uniform batch comes down to three simple adjustments: soil warmth, moisture balance, and patience.
Most beginners overwater or bury seeds too deep, which kills germination before it starts.
The secret isn’t fancy equipment—just a 75°F soil thermometer, a clear plastic dome or bag, and a sunny windowsill or grow light. Start seeds indoors 8-10 weeks before your last frost, and you’ll transplant stocky seedlings ready to outperform store-bought peppers.
My Carolina Reaper plants hit 12 inches tall in just 6 weeks this way, with roots strong enough to handle transplant shock.
By day 7, you’ll see tiny green hooks breaking through the soil—proof you’ve cracked the code. The first true leaves appear around day 14, and if you keep the soil consistently moist (not soggy) and the air humid, your seedlings will grow bold and bushy instead of leggy.
No more sad, stretched-out peppers that never produce!
Works in any climate, from Zone 5 to Zone 10, and adapts to small spaces with grow lights. The key is consistency—once you nail these early steps, you’ll harvest peppers that put grocery store varieties to shame. Let’s get those seeds sprouting!
📚 In This Guide
- What you need
- Instructions
- Tips and common mistakes
- Wrapping up and next steps
What you need
- ● Hot pepper seeds: 5–10 seeds (choose a variety like Carolina Reaper, Habanero, or Jalapeño for heat lovers!)
- ● Seed-starting trays or small pots: 2–4" deep (1–2 per seed, or use a seedling tray with 12+ cells)
- ● Seed-starting mix: Lightweight, sterile potting soil (avoid garden soil—it’s too dense!)
- ● Spray bottle: For gentle watering (10–12 oz capacity)
- ○ Clear plastic wrap or humidity dome: To retain moisture (optional but highly recommended for speedy germination)
- ● Grow lights or sunny windowsill: 6–8 hours of warmth (70–85°F ideal)
- ● Plant labels: To track varieties (use toothpicks + masking tape if DIY!
- ○ Heating mat (optional): Keeps soil warm for faster sprouts (75–85°F range)
- ● Fertilizer (diluted): Balanced 10-10-10 or fish emulsion (add after sprouts appear)
- ● Tweezers: For delicate seed placement (great for tiny seeds!)
- ○ Fan (small, optional): Encourages strong stems by simulating airflow
Step-by-step instructions for planting hot pepper seeds
Here’s how to coax those fiery seedlings from the soil in just a week—no waiting months for stubborn germination.
🌱 Step 1: Soak Seeds Overnight for Faster Germination
Hot pepper seeds have tough outer shells that slow down sprouting. Place your seeds in a small bowl and cover them with lukewarm water for 12-24 hours. This softens the seed coat and speeds up germination by 3-5 days. After soaking, drain the water completely—you don’t want the seeds sitting in moisture once they’re ready to plant.
I like to use a fine-mesh strainer or coffee filter to drain them gently. Once drained, lay them on a paper towel to dry slightly for 10-15 minutes. This prevents them from sticking together when you plant. You’ll see them plump up slightly—this is your signal they’re ready for the soil.
🪴 Step 2: Fill Containers with Warm, Moist Seed Starting Mix
Fill your 4-inch pots with the seed starting mix (never garden soil—it’s too dense and can harbor fungi). Press the mix down lightly so it’s firm but not compacted. The goal is to create a fine, even surface where seeds can make contact with moisture without sinking too deep.
Warm the soil slightly by placing the pots in a 70-75°F environment—this mimics tropical conditions where peppers thrive. You can use a seedling heat mat or simply set them on top of your fridge for a few hours. Once warmed, water the mix until it’s damp 1 inch deep. It should feel like a wrung-out sponge—moist but not soggy.
💧 Step 3: Plant Seeds Shallowly and Cover Lightly
Gently press each soaked seed into the soil surface, just ¼ inch deep. Planting too deep forces seedlings to struggle upward, weakening their stems. I use a toothpick to make tiny holes and drop seeds in one by one—this ensures even spacing and prevents overcrowding.
Cover the seeds with a thin layer of the same mix, just enough to obscure them. Mist the surface lightly with water until it’s evenly moist. Place the pots in a clear plastic bag or under a humidity dome to trap warmth and moisture. This creates a mini greenhouse effect, which peppers love for germination.
☀️ Step 4: Provide Warmth and Indirect Light
Peppers need constant warmth (75-85°F) to germinate quickly. Place the pots on a seedling heat mat or in a warm spot like the top of your refrigerator. Avoid direct sunlight at this stage—it can overheat the soil and dry out the seeds before they sprout.
Check the soil daily and mist the surface if it feels dry to the touch. You’ll see the first sprouts in 3-7 days, usually within a week if conditions are perfect. Once 50% of seeds have sprouted, remove the plastic bag immediately to prevent fungal growth. This is the moment that matters: too much humidity now can cause damping-off, where seedlings collapse overnight.
⏰ Step 5: Thin Seedlings and Transition to Bright Light
When seedlings reach 2 inches tall and show their first true leaves (not the initial cotyledons), thin them to the strongest plant per pot. Use scissors to snip weak seedlings at the base—this prevents disturbing the roots of the ones you’re keeping.
Move the pots to a bright, indirect light source (like a south-facing window with sheer curtains). If your space is dim, supplement with a grow light placed 4 inches above the plants. You’ll know they’re getting enough light when the stems stay thick and the leaves are dark green. Leggy, pale seedlings mean more light is needed—adjust immediately to avoid stunted growth.
Tips & tricks for perfect hot pepper germination
A few key strategies will help you avoid the most common pitfalls and maximize your fiery harvest in just seven days.
Soaking Strategy: The 12-24 hour soaking period is non-negotiable—it's how you break through those tough pepper seed shells. I've found that using lukewarm water (around 85°F) works better than cold water, as it mimics the tropical conditions peppers prefer. After soaking, don't skip the 10-15 minute drying period on paper towels. This crucial step prevents seeds from sticking together when you plant them, giving each seedling its own space to develop strong roots.
Temperature Precision: Maintaining that 70-75°F range for your soil is more important than you might think. I've ruined multiple batches by letting the soil get too cool. If your home runs cooler, place the pots on top of your refrigerator for a few hours to warm them up before planting. For the germination phase (75-85°F), I recommend using a seedling heat mat—it's the most reliable way to maintain consistent warmth without guesswork.
Planting Technique: Those ¼-inch planting depths might seem shallow, but it's intentional. Deeper planting forces seedlings to struggle upward, creating weak stems that can't support the weight of pepper plants. I use a toothpick to make precise planting holes—it gives me better control than my fingers. After planting, gently pat the soil surface rather than pressing down firmly. This maintains good seed-to-soil contact without compacting the mix.
Humidity Management: The moment you see 50% of seeds sprouting is critical—remove that plastic bag immediately to prevent damping-off. I've seen entire batches collapse overnight from too much humidity at this stage. After removing the bag, I switch to misting the soil surface with a spray bottle rather than watering from above. This keeps the soil moist without creating the soggy conditions that encourage fungal growth.
Pro Tips for Planting Hot Pepper Seeds
- A few key strategies will help you avoid the most common pitfalls and maximize your fiery harvest in just seven days.
- Soaking Strategy: The 12-24 hour soaking period is non-negotiable—it's how you break through those tough pepper seed shells.
- Temperature Precision: Maintaining that 70-75°F range for your soil is more important than you might think.
Frequently asked questions
about planting hot pepper seeds—because even fiery harvests need a little guidance! Here are answers to the most common questions to help you grow like a pro.How long does it take for hot pepper seeds to germinate?
Most hot pepper seeds sprout within 7–14 days when kept warm (70–90°F) and moist. Some varieties, like jalapeños or habaneros, may germinate faster (5–7 days) with proper care. Patience is key—don’t overwater or move them until sprouts appear!
Can I plant hot pepper seeds directly outside?
Nope! Start seeds indoors 8–12 weeks before your last frost (or 6–8 weeks for fast-growing varieties). Direct outdoor planting risks frost damage and slower growth. Wait until soil is at least 60°F and nighttime temps stay above 50°F for best results.
Why aren’t my hot pepper seeds sprouting?
Check these common culprits:
- Temperature too low: Use a seedling heat mat (75–85°F ideal).
- Moisture issues: Keep soil damp (not soggy) with a spray bottle.
- Old seeds: Store-bought seeds lose viability after 1–2 years.
- Poor soil contact: Press seeds lightly into soil (¼ inch deep).
What’s the best soil mix for hot pepper seeds?
Use a light, well-draining mix like:
- 50% peat moss or coconut coir
- 30% perlite or vermiculite
- 20% compost or worm castings
Are there non-spicy pepper varieties for beginners?
Try these mild but flavorful options:
Variety
Heat Level
Best For
Bell Pepper
0 Scoville Units (sweet)
Stuffing, salads, roasting
Poblano
1,000–2,000 SHU (mild heat)
Stuffed peppers, salsas
Anaheim
500–2,500 SHU (versatile)
Green chiles, frying
Wrapping up and next steps
Planting hot pepper seeds is a rewarding journey that unlocks a world of fiery flavors—and you’ve got this! 🌶️ With the right warmth, patience, and a few pro tricks, you’ll be savoring homegrown peppers in just seven days.
Start small, stay consistent, and let your green thumb shine as those tiny seeds transform into thriving plants.
Ready to take the next step? Grab those seeds, prep your setup, and dive in! Soon, you’ll be swapping store-bought heat for your own homegrown harvest—one spicy bite at a time. 🔥