Propagation
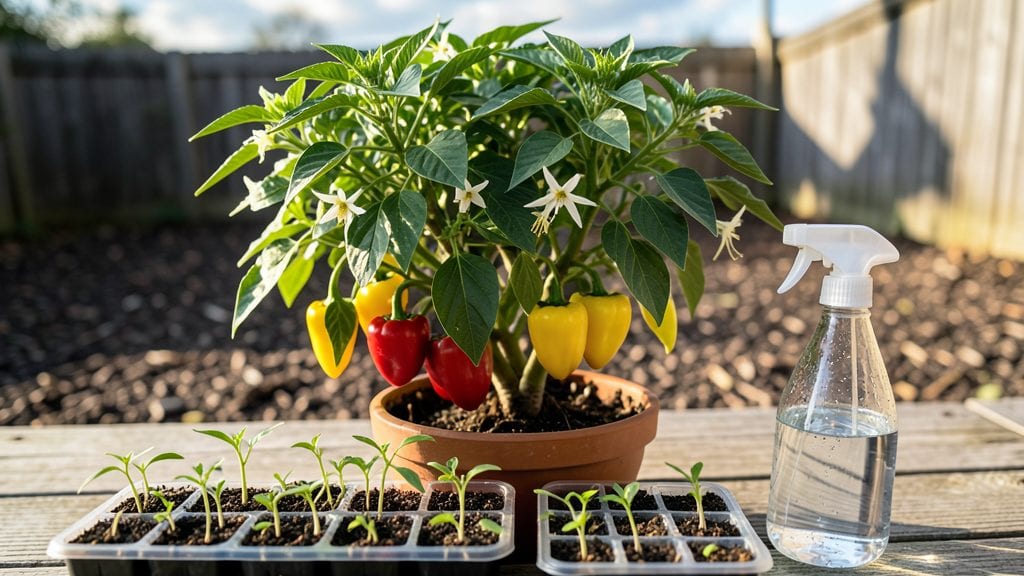
Propagating pepper plants from cuttings lets you double your harvest without spending a dime on seedlings—something I learned after my first failed attempt left me with only half the plants I needed. 🌱 The key is patience and keeping conditions just right: warm, humid, and bright without direct sun.
Most gardeners think it takes months, but with the right setup, you’ll see roots in just three weeks.
You’ll need sharp scissors, rooting hormone (optional but helpful), small pots or water glasses, and a clear plastic bag or humidity dome to trap moisture. My first try without the bag failed—roots took twice as long and were weak—but once I added that plastic tent, success became foolproof.
Even beginners can nail this with basic supplies from the garden center.
What you end up with are sturdy, independent pepper plants ready to transplant. The first harvest from these cuttings arrives just as strong as store-bought seedlings, and you’ll have varieties tailored to your taste—no more settling for what’s available at the nursery.
The real payoff? More peppers for your table with zero extra cost.
This method works for any pepper variety, from sweet bell peppers to spicy jalapeños, and adapts to containers or garden beds. Whether you’re expanding your backyard patch or just want to share plants with neighbors, the process scales easily. Let’s get those cuttings rooted!
📚 In This Guide
- What you need
- Instructions
- Tips and common mistakes
- Wrapping up and next steps
What you need
- ● Pepper plant cuttings: Healthy, non-flowering stems (4–6 inches long) with at least 2–3 leaf nodes. Quantity: 3–6 cuttings per batch.
- ○ Rooting hormone: Optional but recommended (e.g., Clonex or Rootone). Quantity: Small jar or powder.
- ● Well-draining potting mix: A blend of perlite, vermiculite, or coconut coir. Avoid: Garden soil (too dense). Quantity: Enough to fill small pots or trays.
- ● Small pots or propagation tray: 2–4 inch pots or a seedling tray with drainage holes. Quantity: 1 per cutting.
- ● Clear plastic bag or humidity dome: To retain moisture (e.g., a ziplock bag with holes or a plastic propagator).
- ● Spray bottle: For gentle watering (avoid soaking).
- ● Scissors or pruning shears: Sharp and sterilized (rubbing alcohol wipe).
- ○ Warmth: Ideal rooting temp: 70–75°F (21–24°C). Use a heat mat (optional) if your space is cooler.
- ● Indirect light: Bright, filtered light (e.g., near a window or under grow lights for 12–14 hours/day). Avoid direct sun.
- ● Humidity: Maintain 70–80% humidity with your plastic cover.
- ● 🌡️ Water test: Stick your finger in the soil—water only when the top inch feels dry.
- ● ✨ Label your cuttings! Use toothpicks and markers to track pepper varieties.
- ● 🔄 Rotate pots weekly to prevent leggy growth toward the light.
Step-by-step instructions for propagating pepper plants from cuttings
Here's my no-fuss method for turning pepper stems into thriving plants in just three weeks.
🌱 Step 1: Select and Prepare Healthy Cuttings
Choose stems from your healthiest pepper plants—look for 4-6 inch sections with 2-3 leaves and at least one node where roots will form. Use clean, sharp scissors to cut just below a node at a 45-degree angle. This increases surface area for root growth and prevents water from pooling at the cut end.
Remove the lower leaves, leaving only the top 1-2 leaves on each cutting. Too many leaves mean the stem will use energy growing foliage instead of roots. Strip any flowers or buds too—you want all energy focused on establishing roots first. I like to dip the cut end in rooting hormone powder (optional but helpful) before placing it in water.
💧 Step 2: Set Up Water and Monitor Root Growth
Fill a clean glass or jar with room-temperature water until the cutting's node is submerged but leaves stay dry. Place the jar in a spot with bright, indirect light—no direct sun, which can cause algae growth in the water. Change the water every 2-3 days to prevent bacterial buildup, and give it a gentle swirl to oxygenate it.
After 7-10 days, you'll see tiny white root hairs sprouting from the node. These grow fastest in warmth (70-75°F), so a sunny windowsill works well. If roots grow slowly, try moving the jar to a slightly warmer spot. Never let the leaves touch the water—this causes rot and kills the cutting.
☀️ Step 3: Transition to Soil and Harden Off
Once roots reach 1-2 inches long (usually 2-3 weeks total), it's time to plant. Fill a 4-inch pot with moist potting mix, making a small hole with your finger. Gently remove the cutting from water, shake off excess, and place it in the hole so the roots spread naturally. Press soil lightly around the stem to secure it.
Cover the pot with a clear plastic bag to create a humid environment, but leave it slightly open for airflow. Place the pot in bright, indirect light for 5-7 days while the cutting adjusts. Remove the bag once new growth appears—this signals the plant is happily settled in soil. Water lightly when the top inch of soil feels dry.
🌿 Step 4: Maintain and Encourage Growth
Keep your new pepper plant in full sun (6+ hours daily) once hardened off. Fertilize lightly with a balanced liquid fertilizer (10-10-10) diluted to half strength every 2-3 weeks to support root and leaf growth. You'll notice new leaves forming within 2-3 weeks after transplanting—this is your reward for patience!
Pinch off any flowers that appear for the first 4-6 weeks to let the plant focus on growing stronger stems and foliage. This ensures your propagated pepper will be vigorous enough to handle fruiting next season. Keep an eye out for pests like aphids—spray with water if you spot them early.
Tips & tricks for perfect pepper plant propagation
Here's what nobody tells you about turning pepper cuttings into thriving plants without the guesswork.
Cutting Selection: Between us, the health of your starting stem makes all the difference. Look for stems that feel firm to the touch and have vibrant green leaves - these are your best bets. I've learned the hard way that stems with yellowing leaves or soft spots rarely root successfully. Also, aim for cuttings with at least one node that's still white or light green - these are the spots where roots will emerge.
Water Quality Matters: You might think any water will do, but I've noticed a big difference using filtered or rainwater instead of tap water. Tap water often contains chlorine and minerals that can inhibit root growth. If you must use tap water, let it sit out uncovered for 24 hours before using to allow chlorine to evaporate. The water should be room temperature - cold water can shock the cutting and slow down root development.
Root Growth Environment: Creating the perfect conditions at 70-75°F is key for fast root development. I've found that placing the jar on top of my refrigerator (which stays warm) speeds up root growth by about 30%. Just make sure the leaves never touch the water - even a brief contact can cause rot. A small piece of aluminum foil wrapped around the jar can help reflect light and keep the water warmer for those extra few degrees that make a difference.
Soil Transition Strategy: The moment you plant your rooted cutting, you're entering the most critical phase. I've had the best success by creating a mini greenhouse effect with the plastic bag - it keeps humidity high while still allowing airflow. What I didn't realize at first was that the soil should be moist but not soggy when you plant. Too much water at this stage can drown the delicate new roots you've worked so hard to grow.
Pro Tips for Propagate Pepper Plants
- Here's what nobody tells you about turning pepper cuttings into thriving plants without the guesswork.
- Cutting Selection: Between us, the health of your starting stem makes all the difference. Look for stems that feel fi...
- Water Quality Matters: You might think any water will do, but I've noticed a big difference using filtered or rainwat...
Frequently asked questions
Got questions about propagating pepper plants? You’re not alone! Here are answers to the most common concerns—no stress, just straightforward solutions to get your cuttings thriving in no time.
Can I propagate any pepper plant, or do some varieties not root well?
Most pepper varieties—like jalapeños, bell peppers, and habaneros—root easily from cuttings. Heirloom or hybrid varieties tend to propagate best, while some self-pollinated or highly specialized types (like certain chili peppers) may struggle. Stick to healthy, disease-free plants for the best results!
How long does it really take for pepper cuttings to root?
With the right conditions (warmth, humidity, and patience), you’ll see roots in 2–3 weeks. Some cuttings may root faster (10–14 days), while others take up to 4 weeks. Check for resistance when gently tugging the cutting—if it resists, roots are forming!
Should I use water or soil to root pepper cuttings?
Both work, but soil (or a rooting medium) is often more reliable for peppers. Water can lead to rot or weak roots. If you prefer water, use a small jar with 1–2 inches of room-temperature water and change it every 2–3 days. For soil, a mix of perlite and peat moss keeps moisture balanced.
What’s the ideal temperature for rooting pepper cuttings?
Pepper cuttings thrive in 70–80°F (21–27°C). Use a heat mat or place them near a sunny window to maintain warmth. Avoid drafts or cold spots—peppers are tropical and hate temperature swings. A clear plastic bag (like a propagator) traps humidity and warmth for faster rooting!
My pepper cuttings are turning yellow or mushy—what’s wrong?
Yellowing or mushy stems usually mean overwatering or rot. Let the cuttings dry slightly between waterings, and ensure the medium drains well. If the base is soft or smells bad, trim the affected part and replant in fresh, dry medium. Prevention tip: Use sterilized tools and avoid soggy soil!
Can I propagate peppers from store-bought peppers?
Yes, but with a catch! Store-bought peppers are often bred for flavor, not propagation. Try germinating seeds from the pepper’s insides instead—it’s easier and more reliable. If you must use cuttings, choose a healthy, organic pepper plant (like from a nursery) for better success.
Wrapping up and next steps
Propagating pepper plants from cuttings is a rewarding and simple way to expand your garden without breaking the bank! 🌱 With just a few basic supplies and patience, you’ll have thriving new plants in as little as three weeks.
Whether you're a beginner or a seasoned gardener, this method is foolproof—so roll up your sleeves and get growing!
Ready to take the next step? Start with healthy cuttings this season and watch your pepper patch flourish. Happy gardening! 🌿