
Trees
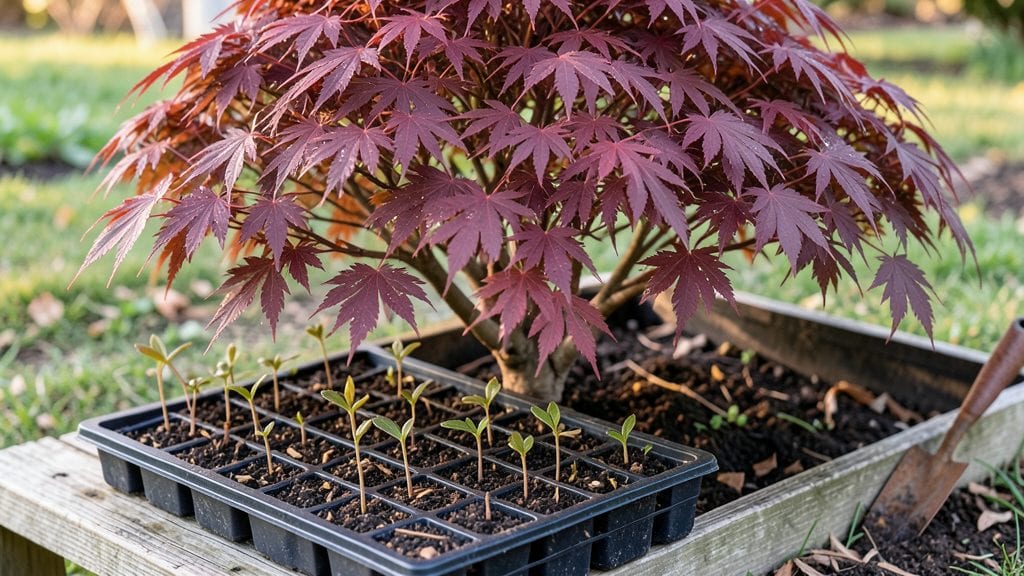
Planting these box trees in containers transformed my front porch into a cozy, evergreen haven—no yard required. ✨ I learned this trick after struggling with bare winter walls. The secret? Choosing the right dwarf varieties and containers that won’t overwhelm small spaces.
You’ll need 15-25 gallon containers per tree (bigger is better for longevity), well-draining soil mix, and a spot with 6+ hours of sunlight daily. I use a blend of potting soil, perlite, and compost to keep roots happy without soggy roots.
The right species matters too—‘Green Velvet’ or ‘Winter Gem’ boxwoods stay small but dense, perfect for tight spaces.
After planting, water deeply until it drains from the bottom, then let the top inch dry before watering again. A slow-release fertilizer in spring keeps them vibrant, and pruning just once a year keeps their shape neat.
Within a year, you’ll have a living wall that blocks wind, noise, and prying eyes—no fence required.
This works for patios, balconies, or even large windowsills if you choose tiny varieties. Just avoid overcrowding—each tree needs 3-4 feet of space to thrive. Now let’s get those roots settled so you can enjoy your green privacy year-round.
📚 In This Guide
- What you need
- Instructions
- Tips and common mistakes
- Wrapping up and next steps
What you need
- ● Box Trees: 3–5 mature Buxus sempervirens or Buxus microphylla plants (depending on desired height and spacing). Choose 1–3 gallon containers for established plants or bare-root seedlings for budget-friendly options.
- ● Planting Box: A wooden, metal, or composite planter with drainage holes (minimum 12" deep and 12" wide per plant). For a 6-foot screen, a 36" wide × 12" deep × 36" tall box works well.
- ● High-Quality Soil: A mix of 60% well-draining potting soil, 30% perlite or coarse sand, and 10% compost (box trees hate soggy roots!).
- ● Organic Fertilizer: Slow-release granular fertilizer (e.g., 10-10-10 or balanced organic option) or fish emulsion for a nutrient boost.
- ● Mulch: 2–3 inches of organic mulch (e.g., shredded bark or pine needles) to retain moisture and suppress weeds.
- ● Garden gloves (to protect your hands from soil and thorns).
- ● Hand trowel or spade (for digging and transplanting).
- ● Watering can or hose with a gentle spray nozzle (box trees prefer deep, infrequent watering).
- ● Measuring tape (to ensure proper spacing—aim for 2–3 feet between plants for a dense screen).
- ● Pruning shears (for shaping and trimming after planting).
- ● Drip irrigation system (for consistent moisture in hot climates).
- ● Plant support stakes (if planting in windy areas).
- ● Slow-release fertilizer spikes (for hassle-free feeding).
- ● Decorative edging (to define the planter box neatly).
Step-by-Step instructions for planting box trees
Here's how to create a lush, evergreen privacy screen that thrives in tight spaces.
🪴 Step 1: Select and Prepare the Planting Site
Box trees (Buxus sempervirens) thrive in full sun to partial shade and need well-draining soil to prevent root rot. Choose a location with at least 6 hours of direct sunlight daily—this ensures dense, uniform growth. If your site is shady, select a more shade-tolerant variety like Buxus 'Green Velvet'.
Test your soil by squeezing a handful—if it stays clumped, amend with 2-3 inches of compost to improve drainage. Box trees hate soggy roots, so avoid low-lying areas where water pools. Mark the planting spots with stakes, spacing them 3-4 feet apart for a mature hedge (closer for a tighter screen).
🌱 Step 2: Dig Holes and Amend the Soil
Dig holes twice as wide as the root ball and slightly shallower—box trees resent being buried too deep, which can suffocate roots. Loosen the sides of the hole with a shovel to encourage root spread. If your soil is heavy clay, mix in 1 part sand or perlite to the native soil to improve aeration.
Place each tree in its hole, ensuring the top of the root ball sits level with the surrounding soil—never mound soil against the trunk. Gently backfill with the amended soil, pressing lightly to eliminate air pockets. Water deeply after planting to settle the soil and eliminate gaps.
☀️ Step 3: Plant and Water for Initial Establishment
Arrange the 4 box trees in a straight line or staggered pattern for a natural look. Use a garden hose with a gentle spray nozzle to water each tree until moisture seeps 6 inches deep—this encourages deep root growth. Avoid overhead watering, which can spread fungal spores.
Mulch the base of each tree with 2-3 inches of organic mulch (like shredded bark), keeping it 6 inches away from the trunk to prevent rot. Mulch retains moisture and suppresses weeds, but never let it pile against the stem. Water twice weekly for the first month, then taper to once weekly once established.
✂️ Step 4: Prune for Shape and Encourage Bushiness
Box trees respond well to pruning, so shape them 2-3 times per year—once after planting, again in early summer, and lightly in late summer. Use clean, sharp pruners to make cuts just above a leaf bud or branch junction. Avoid cutting into old wood, as box trees struggle to regrow from bare stems.
For a formal hedge, trim the top and sides with shears or a hedge trimmer, cutting back by no more than ⅓ of the new growth per session. For a natural look, selectively prune to open the center and encourage airflow. Prune in early spring before new growth begins to minimize stress.
🌿 Step 5: Maintain for Long-Term Privacy
Fertilize box trees once in early spring with a balanced, slow-release fertilizer (10-10-10 ratio) to support steady growth. Water deeply once weekly during dry spells, but avoid overwatering—box trees are drought-tolerant once established. Watch for box tree moth (a common pest) and treat with neem oil or insecticidal soap if you spot yellowing leaves or webbing.
Renew mulch annually to maintain moisture and suppress weeds. By year 3, your hedge will reach 6-8 feet tall, providing a dense, year-round privacy screen. Prune lightly in late winter to shape for the growing season ahead.
Tips & tricks for perfect box tree planting
These essential tips will help you create a thriving, dense privacy screen that lasts for decades—without the common pitfalls that turn box hedges into sad, sparse shadows.
Sunlight Strategy: That 6 hours of direct sunlight requirement is non-negotiable for classic Buxus sempervirens, but here's the secret: morning sun is more valuable than afternoon. Position your hedge to catch the cooler morning rays first, which reduces stress on the foliage. In hot climates, afternoon shade becomes your best friend—just don't let the trees sit in deep shade all day.
Soil Science: When amending with 2-3 inches of compost in Step 1, think of it as creating a "sponge layer" around the roots. For heavy clay soils, mix in 1 part sand or perlite to create pockets where roots can breathe. I've seen box trees planted in pure clay wither within a year—don't make that mistake. Pro tip: Test your amended soil by squeezing a handful; it should crumble easily, not stick together like wet clay.
Planting Precision: The 3-4 feet spacing for mature hedges might seem generous, but trust me on this: box trees resent being crowded. In Step 2, when you're placing each tree, imagine their mature size—you want them to touch but not compete. For a tighter screen, reduce spacing to 2-3 feet, but be prepared for more frequent pruning to maintain that compact look. The top of the root ball must sit level with the surrounding soil—any higher and you'll strangle the roots; any lower and you'll suffocate them.
Watering Wisdom: Those first 6 inches of deep moisture in Step 3 are critical for establishing roots. Use a screwdriver to check moisture depth after watering—it should slide in easily but not come out wet. The twice-weekly watering for the first month is your chance to build a strong root system. After that, let the soil dry slightly between waterings to prevent rot. I've seen box trees drown just as easily as they wilt—balance is everything.
Pro Tips for Planting Box Trees
- These essential tips will help you create a thriving, dense privacy screen that lasts for decades—without the common pitfalls that turn box hedges into sad, sparse shadows.
- Sunlight Strategy: That 6 hours of direct sunlight requirement is non-negotiable for classic Buxus sempervirens, but here's the secret: morning sun is more valuable than afternoon.
- Soil Science: When amending with 2-3 inches of compost in Step 1, think of it as creating a "sponge layer" around the roots.
Frequently asked questions
Got questions about planting box trees in containers? You’re not alone! Here are some of the most common concerns—and straightforward answers—to help you get started with confidence.
What’s the best time of year to plant boxwoods in containers?
Spring or early fall is ideal for planting box trees in containers. These seasons offer mild temperatures and ample time for roots to establish before extreme weather hits. Avoid planting in summer heat or winter frost, as stress can stunt growth.
How big should my planting box be for a mature box tree?
For a mature box tree (6–12 feet tall), aim for a container at least 2 feet deep and 3 feet wide. Larger containers (like 30+ gallons) provide more stability and root space, reducing the need for frequent repotting. Drainage holes are a must!
Can I grow boxwoods in containers year-round, or do they need winter care?
Box trees thrive in containers year-round, but winter prep is key. Move containers to a sheltered spot (like against a south-facing wall) and wrap them in burlap if temps drop below 10°F. Mulch the soil surface to insulate roots and reduce moisture loss.
Why are my container-grown boxwoods turning yellow or brown?
Yellowing leaves often signal overwatering or poor drainage, while brown edges may mean underwatering or sunburn. Check soil moisture (top inch should dry out between waterings) and ensure containers aren’t sitting in saucers of stagnant water. Adjust sunlight exposure if leaves scorch.
Are there dwarf boxwood varieties better suited for small planting boxes?
Consider Buxus ‘Green Velvet’ (compact, 3–4 feet tall) or Buxus ‘Winter Gem’ (disease-resistant, 3–5 feet). These stay small enough for 15–20 gallon containers while delivering lush, year-round privacy. Just prune lightly to maintain shape!
Pro Tip:
Need extra privacy fast? Pair box trees with fast-growing vines like clematis or ivy in the same container. Just ensure the vine has support (like a trellis) and doesn’t outcompete your boxwood for nutrients!
Wrapping up and next steps
Transforming your compact space into a lush, private retreat is easier than you think! With the right box trees and a little planning, you’ll enjoy year-round greenery and serenity.
Whether you’re a beginner or a seasoned gardener, the key is choosing the perfect variety, preparing the soil, and giving your trees the love they deserve.
Ready to take the next step? Sketch a quick layout of your planting box, gather your supplies, and start digging—your future privacy oasis awaits! 🌿✨