
Landscaping
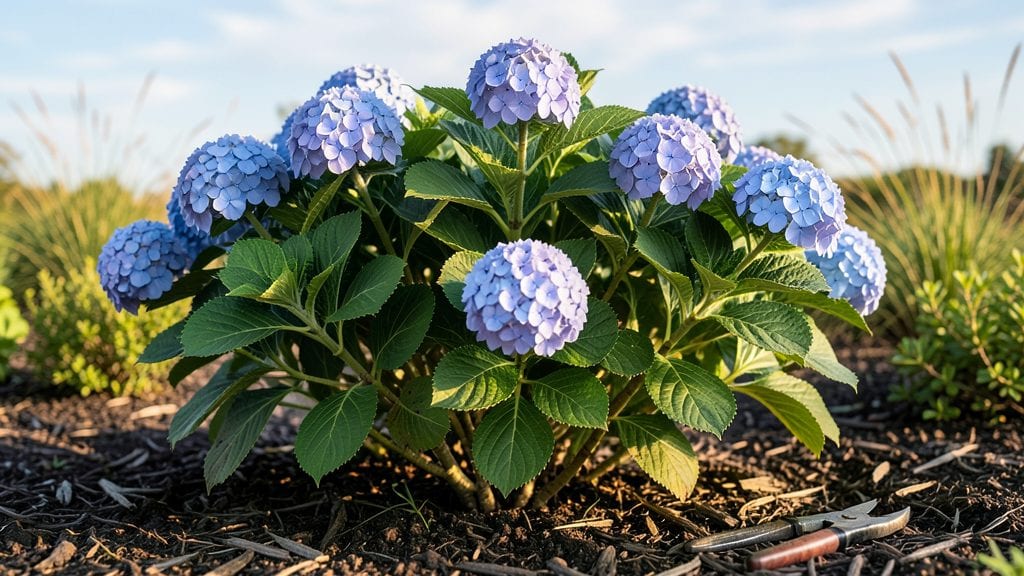
My plant garden design turned my cramped backyard into a thriving vertical oasis—I spent years squeezed into a postage-stamp space until I discovered the magic wasn’t square footage, but height.
My once-empty corners now grow herbs at eye level, trailing vines on trellises, and even dwarf fruit trees in raised beds stacked three high.
The magic comes down to three principles: top-heavy plants (like ornamental grasses) for drama, mid-level producers (tomatoes, cucumbers) for harvests, and ground covers (creeping thyme, ferns) to tie it all together. You'll need sturdy trellises, wall-mounted planters, and a mix of fast growers with slower climbers to avoid competition.
The best part? Every inch of space becomes useful—no more dead corners collecting weeds.
By summer's end, you'll have a garden that feels like a forest retreat, even in a 4x8-foot patch. The vertical layers create dappled shade for delicate plants, hide unsightly fences, and make maintenance easier—no more bending over for everything.
Plus, pollinators adore the layered blooms, turning your small space into a buzzing ecosystem. Let's get growing upward!
This approach works for urban balconies, suburban side yards, or even rural corners with limited usable ground. The key is starting small—maybe one trellis or a wall planter—and expanding as you see what thrives.
My first vertical garden? A single cucumber vine that produced 12 pounds of fruit in one season. That changed everything.
📚 In This Guide
- What you need
- Instructions
- Tips and common mistakes
- Wrapping up and next steps
What you need
- ● Vertical Garden Structure: Wall-mounted planters (1–3, depending on size; 12–24" deep)
- ● Freestanding trellis or tower system (1, adjustable height)
- ○ Optional: Hanging pockets or macramé planters (5–10, for trailing plants)
- ● Growing Medium: High-quality potting mix (1–2 bags, 5–10 gallons total)
- ○ Optional: Coco coir or hydroponic medium (for moisture control)
- ● Plants: Layered foliage plants (e.g., ferns, ivy, or pothos – 3–5 per layer)
- ● Trailing vines (e.g., string of pearls, sweet potato vine – 2–4)
- ● Edible/herb options (e.g., basil, thyme, or strawberries – 1–3)
- ● Measuring tape & level (to ensure even spacing)
- ● Drill + screws/anchors (for wall-mounted setups)
- ● Garden gloves & pruners (for planting/maintenance)
- ○ Optional: Drip irrigation kit or spray bottle (for watering ease)
- ● Prerequisites: Sunlight assessment (6+ hours for most plants; adjust for shade-lovers)
- ● Access to water source (hose or watering can)
Instructions for creating a vertical layered plant garden
Here’s how to stack plants vertically for maximum impact in tight spaces—no wasted square footage.
Plan Your Vertical Structure and Layer Heights
Begin by sketching your vertical garden’s framework, whether it’s a wall-mounted trellis, freestanding tower, or repurposed pallet. Each layer should accommodate different plant heights: tall plants (6-10 feet) like sunflowers or hollyhocks at the back, mid-height (2-4 feet) perennials like salvia or ornamental grasses in the middle, and ground covers or trailing plants (under 2 feet) at the front or lowest level.
Measure your space carefully—most vertical gardens perform best with 12-24 inches between layers to allow airflow and easy maintenance. If using containers, ensure each has proper drainage holes to prevent root rot. I like to use 6-inch pots for trailing plants and 10-12 inch pots for shrub-like plants to give roots room to expand while keeping the overall structure lightweight.
Select Plants for Each Vertical Layer
Choose plants based on their mature height, sunlight needs, and growth habits. Top layers should be sun-loving perennials or annuals like cleome or snapdragons that thrive in full light. Middle layers can include shade-tolerant perennials like heuchera or ferns, while bottom layers work well for trailing plants like sweet potato vine or creeping thyme that cascade beautifully.
Group plants with similar water needs together to simplify care. For example, succulents and sedums at the top layer can share the same drought-tolerant conditions, while moisture-loving plants like impatiens or lobelia belong at the bottom. This ensures no layer gets over- or under-watered. I always check each plant’s tag for mature height and sunlight requirements before committing to a spot.
Install the Framework and Add Growing Medium
Assemble your vertical structure according to the manufacturer’s instructions, ensuring it’s securely anchored to a wall or freestanding base. For DIY setups, use 2x4 lumber or PVC pipes to create a sturdy grid. Line the back of each layer with landscape fabric to prevent soil from spilling through gaps while still allowing water to drain.
Fill each layer with lightweight potting mix—never garden soil, as it compacts and suffocates roots in containers. I mix in perlite or vermiculite for better drainage, especially in smaller pots. Leave 1 inch of space at the top of each container to avoid spills during watering. If using a trellis, attach it securely to the top layer to support climbing plants.
Plant and Arrange for Visual Balance
Start by placing the tallest plants in the back or top layer, working your way down to shorter plants in front. Space them based on their mature width—2-3 feet apart for shrubs, 1 foot apart for perennials, and 6-12 inches apart for annuals or ground covers. Trailing plants should be positioned at the edges of containers to spill over gracefully.
Step back frequently to check for balance—aim for a mix of textures and colors to create visual interest. If one layer feels too bare, add a filler plant like ornamental grass or foliage plant like coleus to bridge gaps. Water thoroughly after planting to settle the soil and encourage root growth. I like to use a slow-release fertilizer at this stage to give plants a nutrient boost as they establish.
Maintain Layers for Long-Term Success
Water each layer based on the plants’ needs, checking the top inch of soil daily during hot weather. Drip irrigation or a self-watering system works best for vertical gardens to ensure even moisture distribution. Prune regularly to encourage bushier growth—pinch back leggy stems and trim overgrown foliage to maintain shape and airflow.
Fertilize every 4-6 weeks during the growing season with a balanced liquid fertilizer to keep plants thriving. Monitor for pests like aphids or spider mites, especially on trailing plants, and treat early with neem oil or insecticidal soap. In fall, remove spent annuals and cut back perennials by one-third to promote new growth next season.
Tips & tricks for perfect vertical layered plant gardens
Creating a stunning vertical garden isn't just about stacking plants—it's about strategic layering that maximizes space while ensuring each plant thrives. Here are my most valuable insights to help you avoid common pitfalls and create a thriving vertical oasis.
Layer Height Strategy: When planning your 12-24 inch spacing between layers in Step 1, consider the mature height of your plants rather than their current size. I've learned the hard way that placing a 2-foot tall plant in the bottom layer will quickly become a mid-level plant as it grows, blocking light to the lower layers. Always measure against the plant tag's mature height specification, not its current nursery size. This foresight prevents future pruning headaches and ensures every layer gets adequate sunlight.
Plant Grouping for Maintenance: In Step 2, I can't stress enough how crucial it is to group plants with similar water needs together. The instructions mention this, but what I've discovered is that even within a single layer, plants with different moisture requirements can create maintenance nightmares. For example, pairing drought-tolerant succulents with moisture-loving impatiens in the same 6-inch pot will inevitably lead to one plant thriving while the other struggles. Create distinct "water zones" within each layer to simplify your care routine dramatically.
Framework Stability Solutions: For Step 3, if you're building a DIY structure with 2x4 lumber, I recommend adding diagonal cross-bracing between layers for added stability, especially if you're mounting this on a wall. I've seen many vertical gardens collapse under the weight of mature plants because the framework wasn't properly reinforced. For freestanding structures, consider using a heavy base or sandbags to prevent tipping, particularly in windy conditions. This simple reinforcement can mean the difference between a garden that lasts years and one that fails within months.
Visual Balance Techniques: When arranging plants in Step 4, think about the "rule of thirds" for visual appeal. Place your most striking plants—whether for color or texture—along the vertical third lines rather than centering them. This creates more dynamic visual interest. Also, consider adding vertical elements like bamboo stakes or trellises in the middle layer to draw the eye upward and create depth. I've found that adding one unexpected vertical element can transform a flat-looking arrangement into a visually compelling vertical garden.
Pro Tips for Plant Garden Design
- Creating a stunning vertical garden isn't just about stacking plants—it's about strategic layering that maximizes space while ensuring each plant thrives.
- Layer Height Strategy: When planning your 12-24 inch spacing between layers in Step 1, consider the mature height of your plants rather than their current size.
- Plant Grouping for Maintenance: In Step 2, I can't stress enough how crucial it is to group plants with similar water needs together.
Frequently asked questions
Got questions about maximizing your small-space garden?
Here are answers to the most common ones—helping you design a thriving vertical oasis with confidence!
What’s the best time of year to start a vertical garden?
Spring and early fall are ideal—mild temperatures and consistent moisture give plants the best start. If you’re in a warm climate, you can plant year-round, but avoid extreme heat or frost. Pro tip: Use shade cloth in summer to protect delicate plants!
How do I measure if my space is suitable for vertical gardening?
Check wall height (6+ feet works well) and weight-bearing capacity (trellises or wall-mounted planters shouldn’t exceed 20 lbs per square foot). Sunlight is key—most vertical gardens need 4–6 hours of direct light daily. Test with a simple ruler and shadow tracking!
Are there budget-friendly alternatives to expensive vertical garden kits?
Use pallets, hanging shoe organizers, or repurposed crates with landscape fabric lining. DIY trellises from PVC pipes or bamboo stakes work too. Bonus: Check thrift stores for old ladders or shelves!
How do I prevent pests in a vertical garden?
Keep plants spaced for airflow, use neem oil or companion planting (e.g., marigolds repel pests), and inspect leaves regularly. Elevate containers to deter slugs/snails. Quick fix: Install yellow sticky traps for flying insects!
Can I grow edibles in a vertical garden?
Yes! Herbs (basil, mint), leafy greens (lettuce, spinach), and vining plants (cucumbers, beans) thrive vertically. Choose compact varieties and ensure proper drainage. Example: Cherry tomatoes in hanging planters save space and yield big!
Wrapping up and next steps
Designing a vertical garden is your ticket to transforming tiny spaces into lush, thriving oases—without sacrificing style or functionality! 🌿 By stacking plants in layers, you maximize growth, boost aesthetics, and even improve air quality.
Whether you’re a green thumb or a beginner, this approach proves that small spaces can yield big rewards with the right planning.
Ready to bring your vision to life? Start small—pick one wall or corner, gather your supplies, and let your creativity grow! Plant by plant, your garden will flourish—literally and figuratively. 🌱✨