Pruning
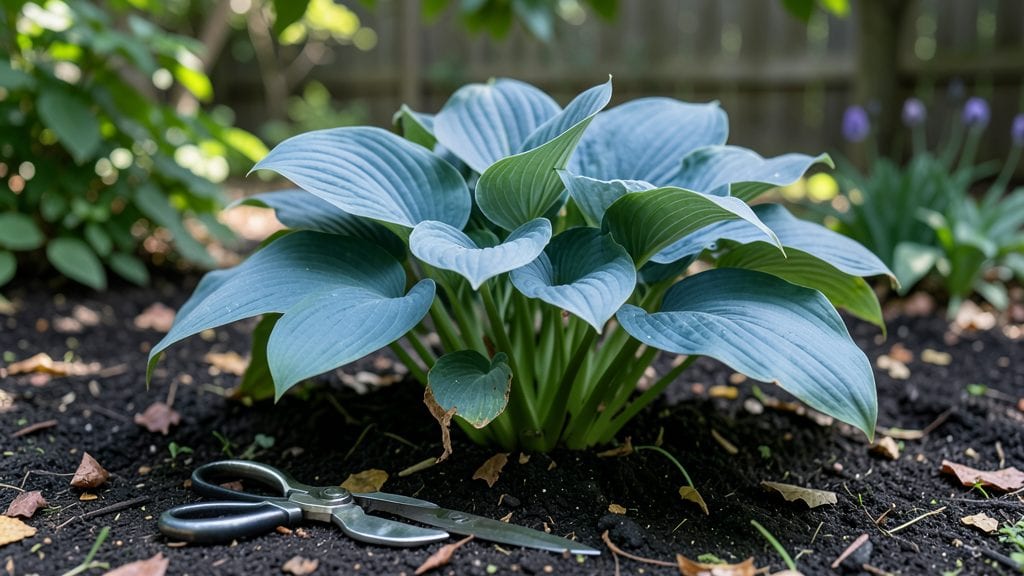
Cutting back hosta plants at the right time ensures they survive winter and bounce back stronger in spring.
Hostas are prized for their lush foliage and low-maintenance nature—but knowing exactly when to cut them back can mean the difference between thriving plants and winter damage. Cut too early, and you risk exposing roots to harsh conditions; wait too long, and you may invite pests or disease.
In Zone 6a, the best window is late fall, after the first frost but before hard freezes set in. This timing gives your hostas time to harden off while preventing slugs and fungal issues from lingering in dead foliage.
Below, I’ll walk you through the step-by-step process, regional adjustments, and the tools you’ll need to protect your hostas through winter without harming next year’s growth.
The optimal late fall timing for cutting back hosta plants
Knowing when to cut back hosta plants is crucial for their winter survival. Hostas enter dormancy as temperatures drop, but cutting too early or late can harm their root systems or invite fungal diseases.
The ideal window is late fall—after the first hard frost but before deep freeze conditions set in. This timing ensures your hostas are protected while preventing winter rot or pest infestations.
Late fall cutbacks help insulate roots with mulch and reduce moisture retention in dead foliage. In USDA Zones 3-5, aim for mid-October to early November, while Zones 6-9 can wait until November to December.
The key is watching for foliage browning and frost damage—signs your hostas are ready for dormancy.
Frost triggers natural dormancy in hostas by breaking down chlorophyll and signaling the plant to conserve energy. Cutting back too soon removes this protective layer, leaving roots vulnerable to temperature fluctuations. Waiting too long risks leaving diseased foliage that can harbor slugs or fungal spores over winter.
Here’s a quick guide to determine if your hostas are ready for late fall cutbacks:
✅ Foliage is fully brown or yellowed (no green remains) ✅ Leaves are crispy to the touch (easy to crumble) ✅ Ground is frozen at night but thaws by day (Zone 3-5) ✅ No new growth appears after frost
If your hostas still have green leaves or soft stems, wait another 1-2 weeks—they’re not dormant yet. In warmer climates (Zones 7-9), you may see winter interest foliage that can stay until late winter for aesthetic appeal.
Why late fall? Cutting back in late fall allows hostas to replenish energy reserves before winter. Removing dead foliage too early removes insulation, while waiting too long risks pest infestations like slugs or voles nesting in decaying leaves.
Use this summary-table to match your climate zone and frost timing for precise cutback windows:
After cutting back, mulch heavily (3-4 inches) with straw or shredded leaves to insulate roots. Avoid wet mulch, which can cause rot. In Zone 3-5, add a thick layer of evergreen boughs for extra protection against freeze-thaw cycles.
Never cut hostas below 1 inch above soil level—this protects the crown from rot and ensures new growth in spring. Use sterilized pruners to avoid spreading bacterial diseases like crown rot. Dispose of cuttings in yard waste, not compost, to prevent slugs from overwintering.
Pro tip: Leave some foliage on blue or variegated hostas for winter interest—it adds texture to snow-covered gardens. Just remove any moldy or slimy leaves first to keep the area clean.
By timing your cutbacks to late fall, you’ll give your hostas the best chance to survive winter and rebound vigorously in spring. Watch for new shoots in early spring as your cue to remove old mulch and fertilize lightly.
🌿
Step-by-step guide: how to cut back hostas without harming the plant
Cutting back hosta plants at the right time and with the proper technique ensures they thrive in the following spring. The key is to remove dead foliage while leaving enough protection for root insulation during winter.
I’ve learned from experience that timing and cleanliness are everything—skipping either step can lead to pest infestations or even plant death.
Start by gathering your tools: a pair of sharp pruners or clean garden shears, gloves, and a disinfectant solution (like rubbing alcohol). Avoid using the same tools you’ve used on diseased plants, as hostas are prone to fungal infections.
Work on a dry day when the foliage is crispy and brown, signaling the plant is ready for dormancy.
⚠️ Critical Timing Warning
Never cut back hostas before the first hard frost—this exposes roots to freezing temperatures. In USDA Zones 3-5, aim for late November to early December. For Zones 6-9, wait until December or even January, as milder winters delay dormancy. Cutting too early removes the plant’s natural insulation layer and invites slugs and rodents.
When cutting, aim to remove 80% of the foliage, leaving about 2-3 inches of stubble. This stubble acts as a protective barrier against soil-borne diseases and harsh winds.
Use your pruners to make clean cuts at a 45-degree angle just above the soil line—never tear the leaves, as this can damage the crown.
After cutting, dispose of the foliage carefully. Never compost diseased leaves, as they can spread fungal spores back into your garden. Instead, place them in a sealed trash bag and remove from the yard.
For healthy foliage, you can shred and compost it, but keep it away from your hosta beds to prevent slugs from using it as a hiding spot.
One common mistake I’ve seen is cutting hostas too low, right down to the soil. This risks damaging the crown and leaves the plant vulnerable to frost heave.
Another error is waiting until spring—by then, the old leaves may harbor overwintering pests like slugs or fungal spores, which can infect new growth.
For added protection, especially in cold climates, mulch around the base of your hostas with 2-3 inches of organic mulch (like shredded leaves or straw).
This extra layer helps regulate soil temperature and retains moisture for early spring growth. With these steps, your hostas will emerge in spring stronger than ever.