
Companion Plants
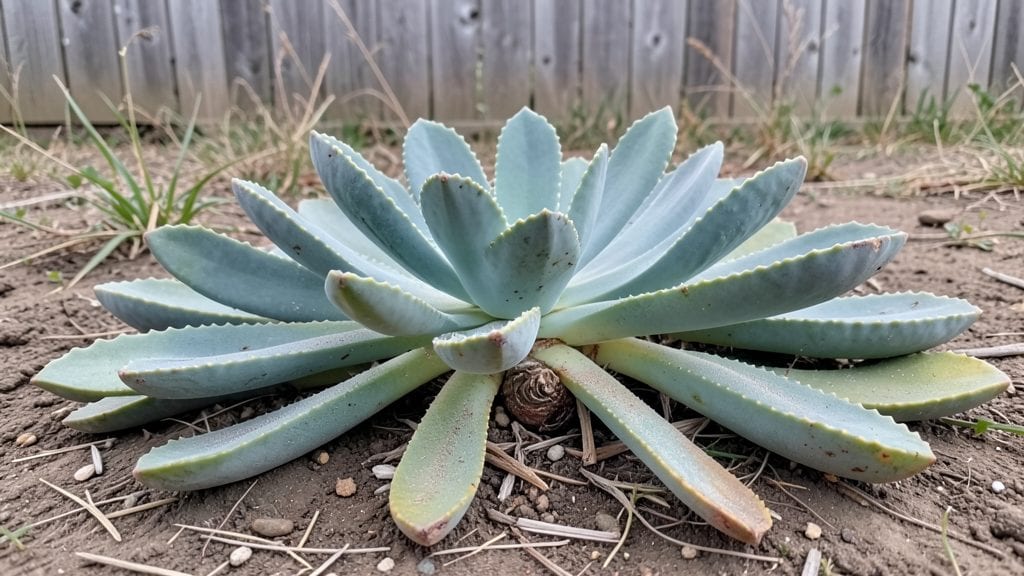
Viviparous plants grow tiny baby plants right on their leaves or stems—no seeds or soil needed. ✨ I first saw this in my mother-in-law’s plant (Kalanchoe daigremontiana), where little plantlets dangled like green earrings. This isn’t magic; it’s a natural trick some plants use to spread themselves effortlessly.
These plants reproduce by sending out offsets or plantlets that root on their own once they drop. Common examples include Bryophyllum (mother of thousands) and Kalanchoe, both of which thrive in bright light and minimal fuss.
The key to propagating them is patience—just let those little stems touch soil or water, and they’ll grow roots within weeks.
You’ll end up with a steady supply of new plants without buying seeds or cuttings. The best part? These babies grow fast and stay true to the parent plant, so you’ll always have reliable, healthy starts. No digging, no waiting—just clip and replant.
Works for both indoor plants and outdoor containers, making it perfect for gardeners who love low-maintenance propagation. Once you try it, you’ll never buy seedlings again!
📚 In This Guide
- What you need
- Instructions
- Tips and common mistakes
- Wrapping up and next steps
What you need
- ● Viviparous plant cuttings: 3–5 healthy, mature cuttings (e.g., Kalanchoe daigremontiana, Bryophyllum spp.) with visible "plantlets" along the leaf edges.
- ● Pro tip: 💡 Choose cuttings with at least 2–3 inches of stem and 3+ plantlets for higher success rates!
- ● Propagation trays or small pots: 2–4 trays (4" x 6" or larger) or 3–4 small pots (3–4" diameter) with drainage holes.
- ○ Optional: Clear plastic domes or plastic wrap to create a humid environment.
- ● Well-draining potting mix: 1–2 bags of cactus/succulent mix (sterilized and moisture-retentive but fast-draining).
- ● DIY alternative: Mix 50% perlite, 30% coconut coir, and 20% compost.
- ○ Rooting hormone (optional but recommended): 1 small bottle of gel or powder (e.g., Clonex or hormone-free alternative like cinnamon powder).
- ● Spray bottle: 1–2 bottles (8 oz) for gentle watering.
- ● Pruning shears or sharp knife: 1 pair (sterilized with rubbing alcohol).
- ● Labeling tags: 5–10 tags + a pencil/marker to track plant varieties.
- ● Bright, indirect light: A south- or west-facing window or a grow light (12–16 hours/day).
- ● Warmth: Ideal temperature range of 70–75°F (21–24°C).
- ● Humidity control: Mist cuttings lightly 2x daily or use a humidity tray (pebbles + water).
- ● Pro tip: 🌡️ Avoid soggy soil—viviparous plants rot easily!
- ● Patience: Root development takes 2–6 weeks, depending on the species.
Step-by-Step guide to propagating viviparous plants
Nature’s shortcut to new plants—vivipary skips the seed stage entirely. Here’s how to coax these remarkable plants into multiplying with minimal effort.
🌱 Step 1: Identify and Select Healthy Viviparous Specimens
Viviparous plants like Kalanchoe, Bryophyllum, and Haworthia produce tiny plantlets along their leaf edges or stems. Choose mature, disease-free plants with 3-4 inches of leaf length—these will yield the most vigorous offsets. Avoid leaves with brown edges or spots, as these won’t propagate well.
Gently examine the leaf margins under bright light. You’ll see small, rounded buds forming along the edges—these are your future plants. The more buds a leaf has, the higher your success rate. I always pick leaves with at least 3-5 buds to ensure strong growth.
🌿 Step 2: Detach and Prepare Plantlets for Rooting
Use sharp, sterilized scissors to snip the leaf or stem section bearing the plantlets. For leaf-based viviparous plants like Bryophyllum, let the cut end callus over for 1-2 hours—this prevents rot when placed in soil. For stem cuttings, remove the lower leaves to expose the nodes where roots will form.
Place the detached plantlets on a clean, dry surface. You’ll notice the buds are already developing tiny roots or stems—this is vivipary in action! Handle them gently to avoid damaging these delicate structures. I like to arrange them on a paper towel until ready to plant.
💧 Step 3: Root in Moist, Well-Draining Medium
Fill small pots (2-3 inches deep) with a mix of 50% perlite and 50% potting mix to ensure fast drainage. Moisten the medium until damp but not soggy—viviparous plantlets root best in slightly humid conditions. Press each plantlet lightly into the soil so the buds sit just below the surface.
Mist the soil gently to settle the plantlets without displacing them. Place the pots in a warm spot (70-75°F) with bright, indirect light. Direct sunlight at this stage can scorch the tender new growth. You’ll see roots forming within 2-3 weeks.
⏰ Step 4: Monitor and Transplant When Ready
Keep the soil lightly moist but never waterlogged—overwatering causes rot, especially in the early stages. After 4-6 weeks, the plantlets will develop their first true leaves and a stronger root system. Gently tug on a leaf to check for resistance—if it resists slightly, the roots are established.
Transplant into individual 4-inch pots with fresh potting mix. Viviparous plants adapt quickly, but avoid full sun for the first week post-transplant. You’ll notice new growth within 10-14 days, signaling successful propagation.
☀️ Step 5: Acclimate and Care for Mature Offsets
Once the plantlets reach 2-3 inches tall, gradually introduce them to their final light conditions. Most viviparous plants thrive in 4-6 hours of morning sun and bright indirect light the rest of the day. Avoid harsh afternoon sun until they’re fully hardened off.
Water when the top ½ inch of soil feels dry, and fertilize lightly with a half-strength balanced fertilizer every 4-6 weeks during the growing season. These plants are remarkably resilient—once established, they’ll reward you with low-maintenance growth.
Tips & tricks for perfect viviparous plant propagation
These insider secrets will transform your propagation success rate from hit-or-miss to consistently thriving new plants.
Leaf Selection Strategy: In Step 1, focus on leaves with buds positioned at least ½ inch from the leaf's edge. These buds have the best chance of developing into strong offsets. I've found that leaves with buds clustered near the center often produce weaker plantlets. For Bryophyllum, prioritize leaves with 5+ buds—the more buds, the higher your success rate. The leaf's health matters too: avoid any with yellowing or mushy spots, as these can introduce rot to your new plants.
Callusing Technique: That 1-2 hour callusing period in Step 2 is crucial for leaf-based cuttings. Place your cut leaves on a clean paper towel in a 70-75°F environment—this mimics their natural conditions. The callus forms a protective layer that prevents rot when you eventually plant them. Pro tip: If you're impatient, you can reduce this to 30 minutes in warm conditions, but don't skip it entirely—this is where most propagation failures begin.
Medium Mix Mastery: The 50/50 perlite/potting mix ratio in Step 3 deserves special attention. Perlite provides the aeration these delicate roots need, while potting mix offers nutrients. I've had success using a 1/3 perlite, 1/3 vermiculite, 1/3 potting mix blend for even better drainage. When pressing plantlets into the mix, aim for ½ inch of soil coverage—this protects the buds while allowing them to access moisture.
Light Management: The bright, indirect light requirement in Step 3 can be tricky. East-facing windows are ideal, but if you're using artificial grow lights, keep them 6-12 inches above the plantlets for 12-14 hours daily. Too much light too soon causes scorching, while too little results in leggy, weak growth. I've seen propagation rates double simply by adjusting light placement—don't underestimate this factor!
Pro Tips for Viviparous In Plants
- These insider secrets will transform your propagation success rate from hit-or-miss to consistently thriving new plants.
- Leaf Selection Strategy: In Step 1, focus on leaves with buds positioned at least ½ inch from the leaf's edge.
- Callusing Technique: That 1-2 hour callusing period in Step 2 is crucial for leaf-based cuttings.
Frequently asked questions
Got questions about viviparous plants? You’re not alone!
Here are some of the most common queries—plus straightforward answers—to help you master this propagation method with confidence.
What makes a plant viviparous, and how do I know if mine is?
Viviparous plants produce live embryos that sprout while still attached to the parent plant (think of mangroves or some succulents). Look for tiny plantlets forming at leaf bases, stems, or flower buds. If you spot these, congratulations—you’ve got a viviparous propagator on your hands!
How long does it take for viviparous plantlets to root and detach?
Timing varies by species, but most plantlets root in 2–6 weeks once they’re 1–2 inches tall. Mangroves, for example, may take longer (up to 3 months), while Kalanchoe daigremontiana plantlets often detach in 4–8 weeks. Patience is key—don’t pull them off early!
What should I do if my plantlets aren’t growing or look unhealthy?
Check for overcrowding (thin out extras), low humidity (mist gently or use a humidity dome), or poor drainage (use well-draining soil). Yellowing leaves? Reduce watering. Still struggling? Try rooting hormone or a shallow tray of water to encourage roots.
Can I propagate viviparous plants year-round, or is there a best season?
Most thrive in warm, humid conditions (spring/summer), but some—like Kalanchoe—propagate well in indoor setups year-round with grow lights. Avoid cold snaps (<50°F/10°C) unless your plant is hardy (e.g., mangroves). A sunny windowsill or greenhouse mimics ideal conditions.
What’s the best way to separate and replant viviparous plantlets?
Gently twist or snip plantlets at their base (use sterilized scissors) once roots are 1–2 inches long. Dip cuttings in rooting hormone (optional), then plant in moist, well-draining soil. Keep soil lightly damp for 2 weeks—no need to overwater!
Wrapping up and next steps
Viviparous plants offer a fascinating and low-maintenance way to expand your garden with minimal effort—just water and watch nature do the rest! 🌱 Whether you're growing Kalanchoe, Sedum, or Haworthia, understanding their unique propagation methods unlocks a world of easy, rewarding growth.
By following the right steps—like proper lighting, humidity control, and patience—you’ll soon be surrounded by thriving new plants.
Ready to dive in? Start with one viviparous plant today and experiment with the techniques shared here. Who knows? You might discover a new favorite species or even share your success with fellow plant lovers. Happy growing! 🌿