Pruning
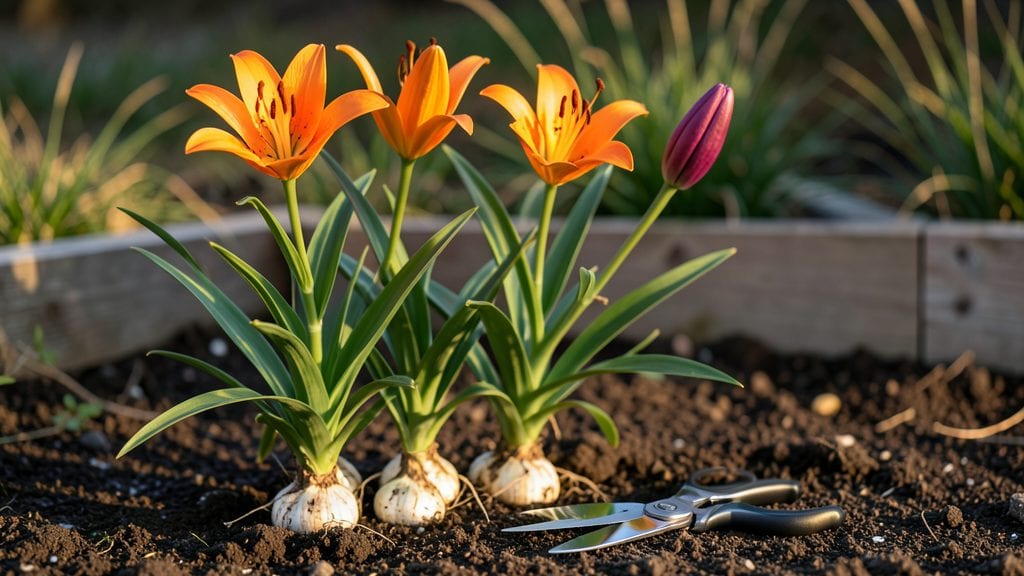
Trimming lily plants isn't just about tidying up—it’s the secret to bigger blooms next year. ✨ I’ve learned that cutting back at the wrong time can weaken stems, while the right timing turns last season’s spent growth into next season’s showstopper.
The difference between a few blooms and a garden full of them often comes down to when and how you reach for those shears.
You’ll need sharp pruners, gloves (lily leaves can be rough!), and a clear day to avoid spreading disease. For Asiatic and Oriental lilies, focus on cutting back after blooms fade, leaving about 6 inches of stem.
Daylilies are tougher—trim them back to the ground in late fall, but never before the first frost. The key is patience: rushing the process can leave plants vulnerable to rot or pests.
What you’ll end up with is stems that look strong and healthy, not scraggly. The foliage will stay lush longer, and those underground bulbs will store more energy for next spring’s blooms.
I’ve seen firsthand how a little strategic cutting turns a lackluster patch into a standout garden feature—all without extra fertilizer or fuss.
Works for both the first-time gardener and the seasoned pro, whether you’re dealing with a single pot or a whole border. Here’s how to do it right without overcomplicating things.
📚 In This Guide
- What you need
- Instructions
- Tips and common mistakes
- Wrapping up and next steps
What you need
- ● Pruning shears or secateurs: Sharp, clean, and disinfected (75% isopropyl alcohol or bleach solution works). Choose bypass shears for precision cuts.
- ● Gloves: Heavy-duty gardening gloves (nitrile or leather) to protect against thorns and sap.
- ● Disinfectant: 1 part bleach to 9 parts water (for sterilizing tools between cuts).
- ● Trash bags or compost bin: For removing dead foliage and stems (1–2 large bags per session).
- ○ Watering can or hose: To hydrate plants post-trimming (optional but recommended).
- ● Hand pruners: For smaller stems or tight spaces.
- ● Knee pads: If you’re trimming larger patches or older plants.
- ● Plant fertilizer: Slow-release bulb fertilizer (e.g., 10-10-10) to nourish lilies after trimming.
- ● Label markers: If you’re dividing plants and need to track varieties.
Step-by-step guide to trimming lily plants
Here’s how to refresh your lilies for healthier stems and bigger blooms next season.
✂️ Step 1: Remove Faded Blooms and Seed Pods
Start by locating the faded blooms—they’ll look wilted or brown. Use clean, sharp pruners to cut the entire stem back to where it meets the base of the plant. This prevents the plant from wasting energy on seed production. I always make the cut just above a leaf node, which is where new growth will emerge.
If you see seed pods forming, remove them too. They’re energy drains that can reduce next year’s flower count. You’ll know you’ve done it right when the plant’s focus shifts to storing energy in its bulbs instead of supporting seeds.
✂️ Step 2: Trim Dead or Yellowing Leaves
Inspect the foliage for leaves that are brown, yellow, or mushy—they’re no longer contributing to the plant’s health. Snip them off at the base with your pruners. Avoid cutting into healthy green tissue, as this can introduce disease. I like to work from the bottom up, removing the most damaged leaves first.
Leave the healthy, green leaves intact—they’re photosynthesizing and feeding the bulb for next season. You’ll know you’ve left enough when about half the leaves remain upright and vibrant. This ensures the plant still has time to store nutrients before dormancy.
✂️ Step 3: Cut Back Stems After Full Dormancy
Wait until the foliage turns completely brown and crispy—this signals dormancy. Once the leaves are dry, cut the stems back to 2-3 inches above the soil level. This prevents rot and keeps the plant tidy. I use a sharp knife or pruners for a clean cut, avoiding jagged edges that can trap moisture.
Don’t rush this step. If you cut too early, the plant may not have finished storing energy in its bulbs. You’ll know it’s time when the leaves look like straw—brittle and hollow-sounding when tapped. This is the plant’s natural signal that it’s ready for rest.
🌱 Step 4: Clean Up Debris and Mulch Lightly
Gather all the trimmed stems and leaves and remove them from the garden area. Pile them in a compost bin—never leave plant debris on the soil, as it can harbor pests or diseases. I also take this chance to pull any weeds growing nearby, as competition for nutrients weakens the lilies.
Apply a 1-2 inch layer of mulch around the base of the plant, but keep it 3-4 inches away from the stems. This protects the bulbs from temperature swings and retains moisture. Use organic mulch like shredded bark or straw—it breaks down slowly and improves soil structure over time.
Tips & tricks for perfect lily plant trimming
Here's what I've learned after years of working with lilies to ensure your plants stay healthy and produce stunning blooms.
Tool Prep: Sterilize your pruners with rubbing alcohol before you start. I've seen so many gardeners skip this step, only to introduce fungal spores or bacteria to their plants. A quick wipe-down between cuts keeps everything clean. Also, make sure your blades are sharp—dull pruners crush stems instead of making clean cuts, which can damage the plant.
Leaf Node Location: In Step 1, when cutting back faded blooms, focus on finding that leaf node just above the base. It's where new growth emerges, and cutting here encourages stronger stems. To find it, look for the small bump or swelling where leaves attach to the stem. This is your target spot for all cuts.
Timing is Everything: Don't rush Step 3—the dormancy stage is critical. I wait until the leaves are completely brown and crispy before cutting back. If you cut too soon, you're interrupting the plant's energy storage process. Tap the leaves—they should sound hollow like straw when they're ready. This patience pays off with bigger blooms next season.
Mulch Placement: When applying that 1-2 inch layer of mulch in Step 4, keep it 3-4 inches away from the stems. This prevents moisture buildup right at the base where rot can occur. I like to create a little mulch donut around each plant, leaving the center clear. This also makes it easier to spot new growth in spring.
Pro Tips for Trimming Lily Plants
- Here's what I've learned after years of working with lilies to ensure your plants stay healthy and produce stunning blooms.
- Tool Prep: Sterilize your pruners with rubbing alcohol before you start.
- Leaf Node Location: In Step 1, when cutting back faded blooms, focus on finding that leaf node just above the base.
Frequently asked questions
Got questions about trimming your lily plants? You’re not alone! Here are some of the most common concerns—plus clear, actionable answers to keep your lilies thriving.
When is the best time to trim lily plants?
Trim lilies after they’ve finished blooming (late summer to early fall) or in early spring before new growth emerges. Avoid cutting back in winter—frozen stems can’t regenerate. For hybrid lilies, wait until foliage yellows naturally to ensure energy is stored for next season’s blooms.
How much should I cut back my lilies?
Leave 2–3 inches of stem above the soil after flowering. For foliage, trim back to half its height in fall, but avoid removing all greenery—it photosynthesizes and fuels next year’s growth. Over-trimming can stress the plant and reduce blooms.
What if my lilies look sad after trimming?
Yellowing leaves or wilted stems post-trim? You might’ve cut too aggressively. Don’t panic: Water deeply, mulch around the base, and avoid fertilizing until new growth appears. If the soil feels soggy, improve drainage—root rot is a common culprit after pruning.
Can I trim lilies in pots or containers?
Yes! Potted lilies follow the same rules, but reduce trimming by 20% since their root space is limited. After cutting, repot if roots are circling the container. Use well-draining soil and a pot with drainage holes to prevent waterlogged roots.
Do I need to disinfect my pruners?
Absolutely!
Wipe blades with rubbing alcohol or a 10% bleach solution between cuts to prevent spreading diseases like Botrytis (gray mold). Disinfecting tools is especially critical if your lilies show signs of fungal spots or oozing sap.
Still unsure? Snap a photo of your lilies and their current state—our community forum can help diagnose issues or suggest tweaks to your trimming routine!
Wrapping up and next steps
Trimming your lily plants doesn’t have to be intimidating—it’s all about timing, technique, and a little TLC! 🌸 By following the steps above, you’ll not only keep your garden looking tidy but also set the stage for vibrant blooms next season.
Remember, the key is to act after flowering and before dormancy, while keeping your tools sharp and your cuts clean.
Ready to give your lilies the care they deserve? Grab your pruners, roll up your sleeves, and watch your garden thrive! For even more gardening tips, check out our guide on fertilizing perennials—your next step to a showstopping garden awaits. 🌱