
Pruning
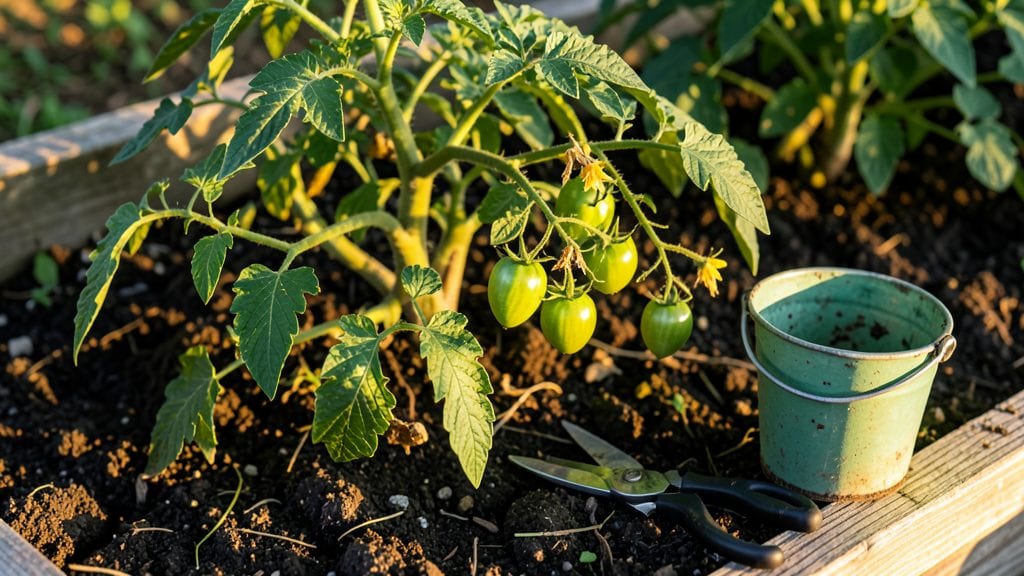
Pruning vegetable plants might sound intimidating, but it’s the secret to bigger harvests and healthier plants all season long. 🌱 I’ve turned my struggling tomato plants into prolific producers just by cutting back the right way—and the same tricks work for cucumbers, beans, and more.
The key isn’t just when to trim, but why—whether it’s boosting airflow, directing energy to fruit, or keeping plants from toppling over.
You’ll need sharp pruners, a clean towel for wiping tools, and a clear plan for each plant type. Tomatoes and cucumbers respond best to regular trimming, while bush beans and peas barely need a touch.
The timing matters too: prune early in the morning when plants are hydrated, and avoid heavy cuts during heatwaves. Most vegetables benefit from light, frequent trims rather than one aggressive session.
What you’ll get is stronger stems, more flowers, and fruit that ripens faster. My cherry tomatoes now cascade with clusters instead of just a few sad-looking ones, and my zucchini plants stay upright instead of sprawling everywhere.
The best part? Pruning reduces disease risk by letting air circulate, so you’ll spend less time fighting blight and more time harvesting. Let’s get those plants shaped up!
This works for container gardens, raised beds, and in-ground plots—just adjust the tools for smaller spaces. And don’t worry if you’ve never pruned before: even a few strategic cuts will make a difference.
The goal isn’t perfection; it’s giving your plants the best shot at thriving. Ready to see what a little trimming can do?
📚 In This Guide
- What you need
- Instructions
- Tips and common mistakes
- Wrapping up and next steps
What you need
- ● Pruning shears: Bypass pruners (sharp, clean blades) for precision cuts—avoid anvil pruners as they crush stems.
- ● Garden gloves: Heavy-duty, cut-resistant (e.g., mechanix or workhorse brands) to protect hands from thorns and debris.
- ● Disinfectant solution: 1-part bleach to 9-parts water (or 70% isopropyl alcohol) to sterilize tools between cuts.
- ● Compost bin or bag: For collecting pruned material—avoid composting diseased plants.
- ● Watering can or hose: To hydrate plants post-pruning (especially in hot climates).
- ● Hand pruners: For smaller plants or tight spaces (e.g., Felco F2 or Corona models).
- ● Loppers: For thicker stems (e.g., tomato suckers or squash vines)—look for 8-12" blades.
- ● Plant markers: To label pruned sections if experimenting with different techniques.
- ● Sunscreen & hat: For outdoor pruning sessions—protect yourself from UV rays!
- ● Knowledge of your plants: Research which parts to prune (e.g., suckers on tomatoes, lower leaves on peppers).
- ● Weather check: Prune on a cloudy day or early morning to reduce stress on plants.
- ● Patience: Pruning is a skill—start small and observe plant responses!
Step-by-Step instructions for pruning vegetable plants
Here's how to keep your veggies thriving all season with simple, effective cuts.
✂️ Step 1: Identify the Right Time to Prune
Timing makes all the difference. Prune tomatoes and peppers when they're young plants (before flowering) to encourage bushier growth. For herbs like basil and cilantro, pinch back the tips when they reach 3-4 inches tall—this triggers more leaf production. Always avoid pruning during stressful conditions like extreme heat or drought, as plants need energy to recover.
Look for healthy, mature leaves with strong stems before cutting. You'll know it's the right time when new growth appears within 7-10 days after your last trim. This is your cue that the plant is ready for another round of shaping.
✂️ Step 2: Use the Right Tools for Clean Cuts
Never use your fingers or dull scissors—sharp, clean pruning shears make all the difference. Sterilize your tools with rubbing alcohol before and after use to prevent spreading disease. For larger stems (like tomato suckers), I grab bypass pruners—they cut cleanly without crushing the stem.
Make cuts at a 45-degree angle, about ¼ inch above a leaf node (the bump where leaves grow). This encourages new growth from the exact spot you trimmed. Avoid tearing or crushing stems—it stresses the plant and invites pests. A smooth cut heals faster and keeps your veggies healthy.
✂️ Step 3: Remove Damaged or Diseased Foliage
Scan your plants for yellowing leaves, brown spots, or wilting stems—these are red flags. Snip off anything that looks sick immediately, especially if it’s moldy, spotted, or covered in pests. Dispose of diseased material in the trash (not compost)—you don’t want to spread problems to other plants.
Focus on lower leaves first, as they’re more prone to rot from moisture. If you see black or mushy stems, prune back to healthy green tissue to stop the spread. Healthy plants bounce back fast—within 3-5 days, you’ll notice new growth pushing through.
✂️ Step 4: Encourage Airflow and Light Penetration
Thin out crowded stems (like in tomato plants) to improve airflow—this prevents fungal diseases like blight. Aim for 6-8 inches between branches so sunlight reaches all parts of the plant. For bushy herbs like thyme or oregano, trim back one-third of the plant to encourage bushier growth.
Watch for shady spots where leaves block sunlight. If you see pale or leggy growth, prune back the overgrown parts to redirect energy to the sunniest areas. Strong airflow also keeps pests away—spider mites and aphids love hiding in dense foliage. A well-pruned plant stays vigorous and productive all season.
⏰ Step 5: Prune for Harvest and Seasonal Shifts
As your veggies mature, harvest regularly by cutting just above a leaf node. For leafy greens like lettuce or kale, trim the outer leaves to encourage new growth from the center. For fruit-bearing plants, prune spent flowers or overripe produce to keep the plant focused on new growth.
In late summer, give your plants a light trim to prepare for fall. Reduce watering slightly after pruning—this helps roots strengthen before cooler weather. You’ll see faster regrowth in 2-3 weeks, setting your plants up for a strong finish to the season.
Tips & tricks for perfect vegetable plant pruning
Mastering the art of pruning transforms your vegetable garden from good to spectacular—here's how to maximize every trim.
Timing is Everything: I can't stress this enough—those 7-10 day intervals between trims in Step 1 are your secret weapon. Watch for new growth as your cue, not just the calendar. Early morning pruning (when plants are hydrated) gives you cleaner cuts and less stress on the plant. And remember: never prune during flowering unless you're harvesting—this is when plants focus all their energy on producing fruit, not leaves.
Tool Technique: That 45-degree angle in Step 2 isn't just a suggestion—it's crucial for directing water away from the cut. I've ruined plants by making flat cuts that pool water, leading to rot. For stubborn stems, use your pruners to twist slightly while cutting—this prevents tearing. Pro tip: Keep a small bottle of rubbing alcohol in your gardening toolkit for quick sterilization between cuts on different plants.
Disease Prevention: When you see those yellowing leaves or brown spots in Step 3, act fast! I've seen blight spread through entire gardens because someone waited "just a little longer." Always dispose of diseased material in sealed bags—not your compost pile. For stubborn fungal issues, make your cuts ¼ inch above healthy tissue and dip your shears in a 1:9 bleach-water solution between plants.
Seasonal Strategy: That late summer light trim in Step 5 is your plant's chance to toughen up before winter. I reduce watering by about 30% after this trim to encourage root strengthening. For perennial herbs like thyme or oregano, you can actually give them a harder cut back—up to one-third of the plant—since they'll regrow vigorously in spring. This is also when I remove any remaining flower stalks from herbs to prevent them from going to seed prematurely.
Pro Tips for Prune Vegetable Plants
- Mastering the art of pruning transforms your vegetable garden from good to spectacular—here's how to maximize every trim.
- Timing is Everything: I can't stress this enough—those 7-10 day intervals between trims in Step 1 are your secret weapon.
- Tool Technique: That 45-degree angle in Step 2 isn't just a suggestion—it's crucial for directing water away from the cut.
Frequently asked questions
When is the best time to prune vegetable plants?
Timing depends on the plant! For determinate veggies (like tomatoes or peppers), prune early in the season to encourage bushiness. For indeterminate varieties (e.g., pole beans or cucumbers), trim throughout the growing season to redirect energy to fruit production. Always prune on a dry, sunny morning to minimize disease risk.
How do I know which parts to prune?
Focus on dead, diseased, or overcrowded growth. For fruiting plants, remove suckers (side shoots between the stem and branches) on tomatoes and peppers. Trim lower leaves touching soil to improve airflow. For leafy greens, snip outer leaves to encourage continuous harvest without stressing the plant.
Can I prune vegetable plants in cold weather?
Pruning in chilly or freezing conditions stresses plants and invites pests/diseases. Wait until spring (after last frost) for perennials or warm days (above 50°F/10°C) for annuals. If you must prune in cooler months, do so mildly—focus on cleanup rather than heavy trimming.
What can I do with pruned vegetable plant parts?
Don’t toss those clippings! Compost healthy trimmings to enrich soil. Use leafy greens (like spinach or kale) in salads or smoothies. For herbs, regrow roots in water. And if pests are an issue, freeze or discard diseased parts immediately.
My plant looks sad after pruning—what went wrong?
Over-pruning is the top culprit! Never remove more than 1/3 of the plant at once. If leaves yellow (chlorosis) or wilt, you may have cut too aggressively or damaged the main stem. Water deeply and avoid pruning for 2–3 weeks to recover. For woody plants, prune just above a leaf node to encourage regrowth.
Wrapping up and next steps
Pruning your vegetable plants isn’t just about keeping them tidy—it’s a game-changer for healthier, more productive harvests year-round! 🌱 Whether you’re trimming tomatoes, pinching basil, or shaping cucumbers, strategic cuts boost airflow, deter pests, and redirect energy to where it matters most.
With the right tools and techniques, you’ll enjoy bigger yields, stronger plants, and less stress in your garden.
Ready to put your new skills to work? Start small—pick one plant type this week and experiment with pruning. Watch as your garden thrives, and soon, you’ll be a pruning pro! 🌟 Happy gardening!