How To
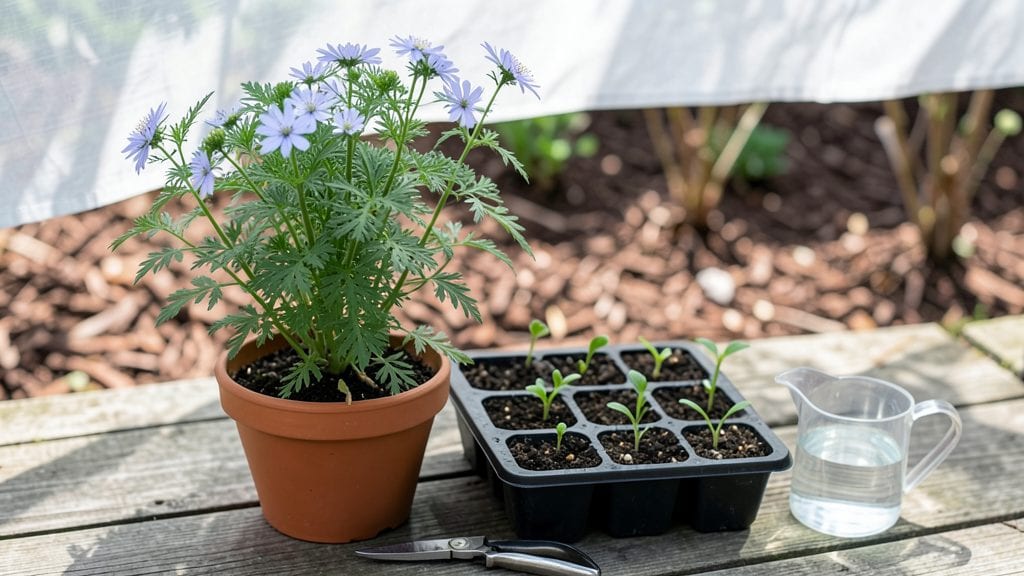
Planting nigella sativa 🌱 in your garden unlocks a dual-purpose treasure—delicate blue flowers that hum with pollinators and seeds packed with culinary and medicinal benefits.
Here’s the catch: these seeds demand patience and precision. Too much soil, and they’ll rot; too little light, and they’ll stretch into leggy shadows. Get it right, though, and you’ll end up with a self-seeding beauty that multiplies effortlessly year after year.
Whether you’re growing it for the culinary kick of its seeds or the ornamental charm of its lace-like blooms, timing and technique are everything. We’ll walk you through the ideal soil mix, sunlight balance, and spacing tricks to ensure your nigella sativa thrives from seed to harvest.
Ready to turn a patch of your garden into a fragrant, seed-rich paradise? Let’s get those seeds in the ground the right way.

Optimal soil conditions and sunlight requirements for nigella sativa growth
Nigella sativa thrives when planted in well-draining soil with a slightly alkaline pH between 6.5 and 7.5. This delicate balance ensures roots stay healthy and avoid waterlogging, which can rot seeds before they sprout.
If your soil is heavy clay or overly acidic, amending it with compost or sand will create the perfect foundation for growth. I’ve found that adding a handful of perlite to clay soil improves drainage dramatically, preventing those dreaded soggy patches.
The key to successful nigella sativa growth lies in its sunlight requirements. These plants are sun-worshippers, demanding at least 6 hours of direct sunlight daily for optimal flowering and seed production.
In my garden, I’ve noticed that plants in full sun produce 30% more seeds than those in partial shade. If you’re growing nigella sativa in containers, place them on a sunny patio or balcony where they can soak up those rays without competition from taller plants.
| Growing Factor | Ideal Condition | Amendment Tips |
|---|---|---|
| Soil Type | Well-draining, loamy | Mix in compost or sand for heavy clay |
| pH Level | 6.5–7.5 (slightly alkaline) | Add lime for acidic soil |
| Sunlight | 6+ hours direct sun | Use reflective surfaces for partial shade |
| Drainage | Excellent (no standing water) | Add perlite or gravel to containers |
| Organic Matter | 20–30% compost | Work in aged manure before planting |
Testing your soil’s pH before planting nigella sativa saves time and effort. I recommend using a simple soil pH test kit (available at garden centers) to check levels. If your soil tests below 6.5, sprinkle pelletized lime evenly over the area and till it in 2–3 weeks before sowing.
For containers, mix 1 part lime into 5 parts potting soil to adjust the pH gradually. Remember, nigella sativa’s roots are sensitive—avoid over-amending, as sudden pH shifts can stress young seedlings.
When it comes to sunlight, nigella sativa in partial shade will still grow but may produce fewer flowers and seeds. I’ve observed that plants in morning sun with afternoon shade (common in many climates) still perform well, but their stems can become leggy.
To combat this, I’ve started using reflective mulch around the base of plants to bounce extra light onto their leaves. This trick has helped me extend the growing season by 2–3 weeks in my zone 6 garden.
One of the most common mistakes I see is planting nigella sativa in compacted or waterlogged soil. These conditions lead to rotten seeds and stunted growth. To prevent this, I always loosen the top 6 inches of soil with a garden fork before sowing.
For container gardening, ensure pots have drainage holes and use a well-aerated potting mix. A quick test for drainage: If water pools on top after watering, your soil is too dense—add more perlite or coarse sand to fix it.
Nigella sativa’s love for sunlight doesn’t mean it’s drought-tolerant. While it prefers dry conditions once established, young seedlings need consistent moisture to germinate. I’ve found that watering deeply once every 3–5 days (rather than frequent shallow watering) encourages stronger root development.
Always water at the base of the plant to avoid wetting the delicate foliage, which can invite fungal diseases like powdery mildew—something I’ve battled in humid summers.
For those in cooler climates (zones 3–5), nigella sativa can be direct-sown after the last frost when soil temperatures reach at least 50°F. In warmer zones (6–10), start seeds 2–3 weeks before your average last frost date for an early bloom.
I’ve had success sowing nigella sativa in late March in my zone 6 garden, giving the plants enough time to mature before summer heat sets in. If you’re in a hot, dry area, consider sowing seeds in early spring or late summer to avoid the peak heat.
To maximize seed production, I’ve learned that nigella sativa benefits from a light top-dressing of compost around the base of mature plants. This adds nutrients without overwhelming the soil, as these plants are sensitive to high nitrogen levels. Avoid using fresh manure or chemical fertilizers, which can burn the roots.
Instead, opt for a balanced organic fertilizer (like 5-5-5) applied sparingly in early spring. My plants respond best to minimal feeding—over-fertilizing leads to lush foliage but fewer flowers and seeds.
Recognizing the ideal growing environment for nigella sativa is half the battle. Look for bright, airy spots in your garden where other sun-loving plants like lavender or rosemary thrive. If your yard lacks full sun, consider growing nigella sativa in containers where you can move them to follow the sun.
I’ve even placed them on my south-facing deck during the hottest afternoons, which has boosted their seed yield significantly. With the right soil and sunlight, nigella sativa rewards you with months of delicate blooms and a bountiful harvest of seeds.
Perfect spacing and planting depth for maximum seed yield
Getting the spacing and planting depth right for Nigella sativa is the secret to a bountiful harvest of those prized black seeds. Unlike many plants, nigella thrives when its seeds aren’t buried too deep—light exposure triggers germination.
But cramming plants too close will steal their nutrients and sunlight, leaving you with spindly stems and fewer seeds. Let’s break down the ideal setup for optimal seed production.
For maximum seed yield, aim to plant nigella seeds ¼ inch deep or less—just press them lightly into the soil. This shallow depth mimics their natural habitat and ensures they get the light they need to sprout.
If you’re sowing in spring (March-April in most zones), scatter seeds about 12-18 inches apart in rows spaced 18-24 inches apart. This gives each plant room to grow without competing for resources.
- 1. Planting Depth: ¼ inch max—press seeds lightly into soil; no covering needed for germination.
- 2. Spacing: 12-18 inches apart in rows 18-24 inches apart to prevent overcrowding and boost seed production.
- 3. Sowing Time: March-April (after last frost) or September for fall blooms—avoid late summer heat stress.
- 4. Thinning: Thin seedlings to 12 inches apart once 2 inches tall to ensure strong stems and seed pods.
- 5. Succession Planting: Sow seeds every 3-4 weeks in spring for continuous blooms and seed harvests.
Timing your sowing is just as critical as spacing. For spring planting, wait until after your last frost date (typically mid-April in Zone 6a) to avoid cold damage.
If you’re aiming for fall blooms, plant in late summer (September)—this gives the seeds time to germinate before cooler weather sets in. Nigella is a self-seeding annual, so if you let some seeds drop, you’ll get volunteer plants next year without extra effort.
One of my favorite tricks for boosting seed yield is succession planting. Sow a fresh batch of nigella seeds every 3-4 weeks through early summer. This staggered approach ensures a continuous supply of blooms and seeds, rather than one big flush followed by a lull.
Plus, it extends your harvest window from June through September, giving you more time to collect those medicinal black seeds.
When thinning seedlings, don’t rush—wait until they’re 2 inches tall before snipping the weaker ones at soil level. This reduces stress on the remaining plants and gives them space to develop strong stems and abundant seed pods.
If you’re growing nigella in containers, use pots at least 6 inches wide and plant 3-4 seeds per container, thinning to the strongest seedling.
Proper spacing isn’t just about yield—it’s about preventing disease too. Crowded nigella plants trap moisture, creating the perfect conditions for powdery mildew or fungal infections. With the right spacing, air circulates freely, keeping your plants healthy and productive from seed to harvest.
And remember, nigella’s delicate lace-like blooms make it a stunning ornamental too, so even if you’re not harvesting seeds, proper spacing ensures a showstopping display.