Propagation
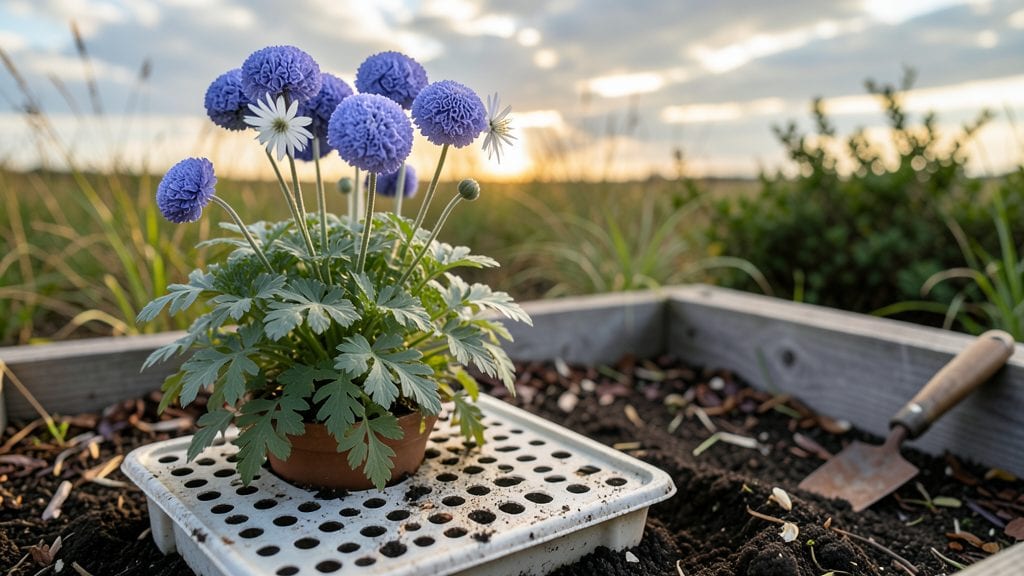
Planting nigella seeds reveals why gardeners call them "love-in-a-mist"—those delicate, airy blooms appear faster than you'd expect from such tiny seeds. ✨ I've watched them pop up within days of sowing, transforming bare soil into a lacy, blue-green cloud by early summer.
The secret lies in their fearless nature: they thrive in poor soil, tolerate drought, and self-seed like crazy, giving you free flowers for years.
Start by scattering seeds directly where you want them—no need for transplanting—about ¼ inch deep in well-drained soil. Spring or fall are ideal in most temperate zones, but I've had success sowing mine as late as June and still get blooms before frost.
The key is consistency: keep the soil lightly moist until germination, then let nature take over. These seeds don't need coddling, just patience.
Within weeks, you'll see those first feathery leaves unfurl, followed by stems that reach 12-18 inches tall. The flowers—ranging from sky-blue to white to deep black—add height and texture to borders, containers, or wildflower meadows.
Deadhead spent blooms to encourage more flowers, but leave some seed pods for next year's surprise pops.
Common mistakes? Overwatering (they hate soggy roots) and planting too densely (give them 6-12 inches apart). For best results, mix them with taller perennials—they'll fill in gaps beautifully while attracting pollinators. Once established, nigella practically plants itself, making it the ultimate low-maintenance annual.
📚 In This Guide
- What you need
- Instructions
- Tips and common mistakes
- Wrapping up and next steps
What you need
- ● Nigella seeds: 1–2 packets (500–1,000 seeds per packet). Choose varieties like Nigella damascena (common love-in-a-mist) or Nigella sativa (culinary black cumin).
- ● Well-draining potting mix: 1–2 gallons (for containers) or enough to fill your garden beds. A blend of 50% peat/compost and 50% perlite/sand works best.
- ● Containers or garden bed: For containers: 6–12-inch pots (at least 1–2 per variety) with drainage holes.
- ● For in-ground: A sunny spot (6+ hours of light) with loose, well-draining soil.
- ● Watering can or spray bottle: With a fine rose nozzle for gentle watering.
- ○ Plant labels (optional but helpful): To track varieties and planting dates.
- ● Gloves: To protect hands from prickly seed pods (if harvesting later).
- ● Trowel or small shovel: For digging in garden beds or transplanting seedlings.
- ○ Seedling heat mat (optional): If starting indoors in cool climates (70–75°F ideal for germination).
- ● Fertilizer (light touch!): A balanced 10-10-10 or organic compost tea (use sparingly—nigella thrives in lean soil).
- ● Row covers or shade cloth (for hot climates): To protect seedlings from intense sun.
- ● Decorative accents: Stakes or pebbles to mark rows if planting in mixed beds.
Step-by-Step instructions for planting nigella seeds
Here's how to grow these striking annuals with minimal fuss—expect vibrant blooms in just 6-8 weeks.
🌱 Step 1: Choose the Perfect Planting Location
Nigella thrives in full sun—select a spot that receives at least 6-8 hours of direct sunlight daily. I always test the area first by observing how long shade lingers; nigella wilts dramatically in afternoon shade. The soil should drain quickly but retain moisture, so avoid low spots where water pools after rain.
If your garden has heavy clay soil, amend the planting area with 2-3 inches of compost mixed into the top 6 inches of soil. This improves aeration and prevents the delicate roots from becoming waterlogged. Work the compost in gently—over-tilling can compact the soil again, which nigella hates.
🌱 Step 2: Direct Sow Seeds for Best Results
Nigella seeds germinate best when sown directly outdoors, so skip the transplanting step entirely. Scatter the seeds ¼ inch deep—they’re tiny but don’t need covering beyond a light press into the soil. I like to sow them in early spring, about 2-4 weeks before your last frost date, for a head start on blooms.
Space the seeds 12-18 inches apart—this gives them room to mature without crowding, which leads to leggy stems and fewer flowers. For a natural, wildflower look, scatter them more loosely and let them self-seed. Water gently after planting to settle the soil around the seeds, but avoid soaking the area.
💧 Step 3: Water Sparingly and Let Nature Take Over
Nigella is remarkably drought-tolerant once established, so water deeply but infrequently. After sowing, keep the soil evenly moist until germination, which typically occurs in 7-14 days. You’ll see the first true leaves—small, rounded, and deep green—emerge quickly.
Once seedlings are 2 inches tall, reduce watering to once weekly unless your region experiences extreme heat or drought. Overwatering is the fastest way to kill nigella; the roots rot before the plant can develop its signature resilience. Let the top 1 inch of soil dry out between waterings to encourage strong root growth.
☀️ Step 4: Enjoy Low-Maintenance Blooms and Self-Seeding
Nigella blooms in 6-8 weeks after sowing, producing delicate, lacy flowers in shades of blue, white, or pink. The secret to long-lasting blooms? Do nothing. Deadhead spent flowers if you prefer a tidy look, but leave them for seed pods if you want next year’s crop to pop up effortlessly.
These annuals self-seed aggressively, so you’ll often find volunteers popping up in the same spot year after year. If they spread too much, simply pull the unwanted seedlings in early spring. Nigella’s fast germination and bold foliage make it a standout in cottage gardens, borders, or even containers.
✂️ Step 5: Harvest Seeds for Next Year’s Planting
When the flowers fade, the seed pods turn into charming, papery orbs that dry on the plant. Harvest them in late summer or early fall by snipping the pods with scissors. Spread them on a tray in a dry, shaded spot to finish drying—this prevents moisture from causing mold.
Store the dried seeds in a paper envelope (not plastic) in a cool, dark place. They remain viable for 2-3 years, so you’ll always have a fresh supply. Nigella’s ability to reseed itself means you’ll never need to buy new seeds again—just let nature do the work.
Tips & tricks for perfect nigella seed planting
These simple yet transformative strategies will help you achieve that signature cottage garden charm with minimal effort—and zero fuss.
Sunlight Strategy: The 6-8 hours of direct sunlight in Step 1 is non-negotiable for nigella. I've learned the hard way that even partial afternoon shade can cause stems to stretch painfully thin. Test your spot by observing how long shade lingers—if it's there after 4 PM, find a sunnier location. A south-facing border or raised bed works beautifully for maximizing that crucial sunlight.
Soil Preparation Secret: For heavy clay soil in Step 1, don't just add compost—work it into the top 6 inches of soil using a broadfork instead of a tiller. This preserves the soil's natural structure while improving drainage. I've seen nigella roots rot in compacted soil even when compost was added on top. The key is breaking up compaction without destroying the soil's natural aeration.
Timing Tip: Those 6-8 weeks to bloom mentioned in the instructions can feel like forever, but you can accelerate germination by pre-soaking seeds for 12 hours before planting. Just place them in a damp paper towel overnight—this gives you a head start without requiring any transplanting. The seeds will still follow their natural 7-14 day germination timeline, but you'll see sprouts appear slightly sooner.
Watering Wisdom: When you reach Step 3 and reduce watering to once weekly, use the "finger test" to check soil moisture. Stick your finger about 1 inch deep—if it feels completely dry, it's time to water. I've found that nigella actually performs better with slightly dry soil than with consistent moisture. The plants develop stronger roots when forced to seek water deeper in the soil profile.
Pro Tips for Nigella Seeds Planting
- These simple yet transformative strategies will help you achieve that signature cottage garden charm with minimal effort—and zero fuss.
- Sunlight Strategy: The 6-8 hours of direct sunlight in Step 1 is non-negotiable for nigella.
- Soil Preparation Secret: For heavy clay soil in Step 1, don't just add compost—work it into the top 6 inches of soil using a broadfork instead of a tiller.
Frequently asked questions
Got questions about growing nigella seeds?
You’re not alone! Here are answers to the most common queries—from timing to troubleshooting—to help you cultivate these striking annuals with confidence.
When is the best time to plant nigella seeds?
Nigella seeds thrive in cool weather—plant them 2–4 weeks before your last frost in spring or 6–8 weeks before the first fall frost for a second bloom. They germinate best in soil temps between 50–75°F (10–24°C). Avoid planting in scorching summer heat, as seeds may dry out before sprouting.
How long do nigella seeds take to germinate?
One of nigella’s standout traits is its fast germination—expect sprouts in 7–14 days under ideal conditions (moist, well-drained soil and consistent warmth). If germination takes longer, check for dry soil or overcrowding. A light misting can help speed things up!
Can I grow nigella seeds indoors before transplanting?
While possible, nigella seeds don’t transplant well due to their delicate roots. For best results, direct-sow outdoors in their final location. If you must start indoors, use biodegradable pots and harden off seedlings for 7–10 days before moving them outside.
Why aren’t my nigella seeds sprouting?
Common culprits include:
- Dry soil—keep seeds consistently moist (not soggy) until germination.
- Poor soil contact—press seeds lightly into soil (they need light to germinate, so don’t bury deeply).
- Old or stored seeds—nigella seeds lose viability over time; use fresh seeds for best results.
- Extreme temps—avoid planting in heatwaves or freezing conditions.
What can I plant with nigella seeds for companion planting?
Nigella’s delicate blooms pair beautifully with:
- Low-growing herbs like thyme or oregano (they won’t compete for space).
- Vegetables such as lettuce, radishes, or carrots (nigella deters pests like aphids!).
- Other annuals like calendula or borage for a pollinator-friendly border.
Wrapping up and next steps
Growing nigella seeds is a rewarding and effortless way to add whimsical charm and vibrant color to your garden year-round! With their fast germination and minimal care requirements, these bold annuals are perfect for beginners and seasoned gardeners alike.
Whether you’re sprinkling them in containers, borders, or wildflower meadows, their delicate blooms and unique seed pods will bring joy and texture to any space.
Now that you’re armed with the know-how, why not start planting today? Grab your seeds, pick a sunny spot, and let nature do the rest—your garden will thank you with a burst of effortless beauty! 🌸