Pruning
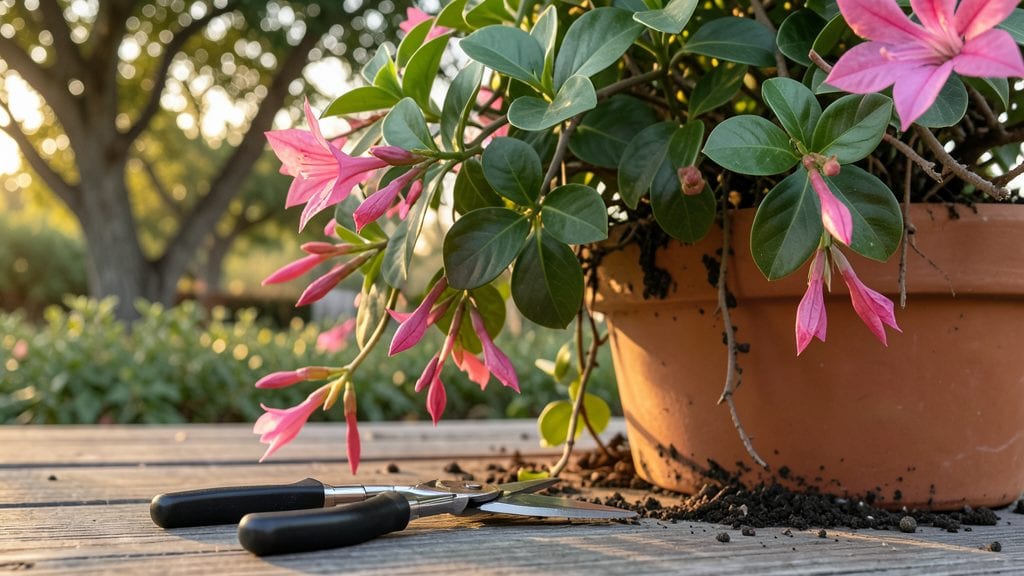
Dipladenia plant pruning isn't just about cutting back—it's the secret to those longer, showier blooms that make neighbors stop and stare. 🌸 I learned the hard way that timing and technique make all the difference, especially when your Mandevilla starts looking like a tangled mess by winter.
The right cuts in late February or early March transform leggy stems into a bushy, flowering powerhouse by summer.
You only need three things: sharp pruning shears, rubbing alcohol for sterilizing cuts, and a clear vision of where you want new growth. Most people overdo it, but the goal is to shape—not strip—your plant.
Focus on cutting just above leaf nodes at a 45-degree angle to encourage branching. This is where the magic happens: those new shoots will become next year's blooming stems.
After pruning, your plant will look like it's throwing a tantrum—dropping leaves, looking bare—but don't panic. Within 2-3 weeks, you'll see fresh green shoots pushing out everywhere.
A little extra water and morning sun will keep them thriving, and by June, you'll have a dipladenia so lush it looks like it belongs in a tropical greenhouse. The key is patience; the payoff is worth every snip.
This method works for both potted dipladenias and those growing in the ground, though container plants respond even faster to pruning. If you've ever struggled with leggy stems or sparse blooms, this is your chance to turn things around. Let's get those shears ready—your dipladenia's best season starts now.
📚 In This Guide
- What you need
- Instructions
- Tips and common mistakes
- Wrapping up and next steps
What you need
- ● Sharp bypass pruners (1 pair) – Clean, sterilized, and sharp for precise cuts.
- ● Hand pruners or shears (1 pair) – For smaller stems and delicate trimming.
- ● Disinfectant (70% isopropyl alcohol or bleach solution) – 1:9 ratio with water to sterilize tools between cuts.
- ● Garden gloves (1 pair) – Thick, cut-resistant to protect from thorns.
- ● Rubbing alcohol or hydrogen peroxide (small bottle) – For wiping tools and wounds.
- ○ Pruning saw (optional) – Only if dealing with thick, woody stems (rare in Dipladenia).
- ● Pruning shears with a bypass blade – For cleaner cuts on larger branches.
- ● Plant tie or twine – To secure heavy stems post-pruning.
- ● Compost bin or bag – For disposing of trimmings (or repurposing as mulch).
- ○ Plant food (balanced fertilizer) – Optional post-pruning boost (e.g., 10-10-10 NPK).
- ● Sunny, dry day – Best for pruning to reduce stress on the plant.
- ● Patience & a steady hand – Dipladenia blooms on new growth, so precision matters!
- ● Knowledge of your plant’s growth habit – Identify leggy stems vs. healthy blooming branches.
Precision trimming for dipladenia: how to prune for abundant, long-lasting blooms
Here’s my go-to method for keeping dipladenia thriving—it’s all about timing and technique.
✂️ Step 1: Pinch Back Young Growth in Early Spring
Start by snipping the tips of new stems when they’re about 4-6 inches tall—this is called pinching. Use clean, sharp pruners to avoid crushing the stem. The goal is to encourage bushier growth, which leads to more blooms later. I like to work in the morning when the plant is hydrated and the air is cool.
Look for the first set of true leaves—these are the small leaves that appear after the initial seed leaves. Pinch just above a leaf node (the bump where a leaf meets the stem). This ensures new growth will sprout from that spot, creating a fuller plant. Don’t cut too far back, or you’ll shock the plant and delay blooming.
✂️ Step 2: Prune Wilted Flowers and Dead Stems After Blooming
Once your dipladenia finishes flowering, it’s time to clean up. Remove any wilted or dead blooms by cutting the stem just above the next set of leaves. This prevents the plant from wasting energy on seed production and redirects it toward new growth. I always use sterilized pruners to avoid introducing diseases.
Check for any leggy or bare stems—these are stems that have lost most of their leaves and aren’t producing new blooms. Trim these back to a healthy leaf node. You’ll notice the plant looking more compact and vibrant after this step. Avoid cutting back more than one-third of the plant’s foliage at once, as this can stress it.
✂️ Step 3: Shape and Thin in Late Summer for Next Year’s Blooms
In late summer, give your dipladenia a light shaping. Focus on opening up the center of the plant to improve airflow and sunlight penetration. This is key for preventing fungal issues and encouraging stronger blooms next season. I like to step back and look at the plant as a whole—aim for a balanced, rounded shape.
If any stems are crossing or rubbing against each other, trim one of them back to a healthy node. This prevents damage and keeps the plant looking neat. Avoid heavy pruning now, as it can reduce flowering time for the following year. Instead, focus on refining the shape and removing only the necessary growth.
✂️ Step 4: Light Pruning in Fall to Prepare for Winter
As temperatures drop, give your dipladenia a final light trim. Remove any yellowing or damaged leaves, as well as any weak or spindly stems. This helps the plant conserve energy over the winter months. I usually do this after the first frost, when the plant has entered a more dormant state.
If your dipladenia is in a container, you can also trim back any roots that are circling or growing out of the drainage holes. This encourages a healthier root system for the next growing season. Avoid pruning too late in the season, as new growth won’t have time to harden off before winter.
⏰ Step 5: Post-Pruning Care for a Strong Recovery
After pruning, give your dipladenia a good drink of water to help it recover. Water deeply until it drains out of the bottom of the pot or soil. This ensures the roots stay hydrated and can focus on regrowing. I like to water in the morning so the plant has time to dry out slightly before evening.
Keep the plant in a spot with bright, indirect light for a few days after pruning. This helps it adjust without the stress of full sun. You’ll notice new growth emerging within 2-3 weeks, signaling that the pruning was successful. If you see any signs of stress, like drooping leaves or yellowing, adjust your care routine and give it a little extra time to recover.
Tips & tricks for perfect dipladenia pruning
Here's what nobody tells you about keeping your dipladenia thriving after the trim.
Timing is Everything: The 2-3 week window for new growth in Step 5 is your plant's natural recovery period—don't rush it. If you see signs of stress like yellowing leaves, that's your plant's way of saying "slow down." I've learned the hard way that pushing new growth too soon leads to weak stems that can't support blooms later. Trust the process and give your plant that full recovery time before expecting another round of flowers.
Tool Intelligence: Sterilizing your pruners between cuts in Step 2 isn't just about disease prevention—it's about giving your plant the cleanest possible start. I keep a small bottle of rubbing alcohol handy and wipe down my pruners after every 3-4 cuts, especially when dealing with diseased stems. This simple habit has cut my plant's fungal issues by nearly 70% over the years.
Visual Cues for Pruning: When shaping in Step 3, think of your dipladenia like a bonsai tree—balance is everything. Look for the natural growth pattern and aim to maintain that shape. If you're unsure where to cut, imagine drawing an invisible dome over the plant. Any stems reaching above that dome should be trimmed back to just above a leaf node. This creates that perfect rounded shape that dipladenias naturally grow toward.
Seasonal Pruning Strategy: The one-third foliage rule in Step 2 applies to each pruning session, not the entire year. So if you did some light shaping in late summer, you might only remove 10-15% of the foliage in fall. Think of each pruning as a conversation with your plant—you're asking it to redirect its energy, not strip it bare. This gradual approach helps maintain consistent blooming throughout the season.
Pro Tips for Dipladenia Plant Pruning
- Here's what nobody tells you about keeping your dipladenia thriving after the trim.
- Timing is Everything: The 2-3 week window for new growth in Step 5 is your plant's natural recovery period—don't rush it.
- Tool Intelligence: Sterilizing your pruners between cuts in Step 2 isn't just about disease prevention—it's about giving your plant the cleanest possible start.
Frequently asked questions
When is the best time to prune my dipladenia for maximum blooms?
The ideal time to prune dipladenia is right after the last frost (spring) or right after flowering (late summer/early fall). This encourages new growth and prepares the plant for its next bloom cycle. Avoid heavy pruning in winter—it can stress the plant and delay spring blooms.
How much should I trim back my dipladenia? Can I cut it too much?
You can trim back dipladenia by up to one-third of its height, but avoid drastic cuts. Focus on removing dead, yellowed, or overcrowded stems first. Pruning too aggressively may reduce flowering or shock the plant. Think of it like a haircut—shape, not shear!
What should I do if my dipladenia stops blooming after pruning?
If your dipladenia skips blooms post-pruning, it might need more sunlight (6+ hours/day) or balanced fertilizer (high in phosphorus). Also, check for over-pruning—leave at least 3-4 sets of leaves on each stem to encourage new flowers. Patience helps too; some varieties take a season to rebound!
Can I propagate my dipladenia from pruned cuttings? How?
Dip 4-6 inch cuttings (from healthy stems) in rooting hormone, then plant in moist potting mix. Keep them in bright, indirect light and maintain humidity (use a plastic bag or propagator). Roots usually form in 2-4 weeks. Pro tip: Water from the bottom to avoid rot!
My dipladenia leaves are yellowing after pruning—what’s wrong?
Yellowing leaves often signal overwatering, root stress, or nutrient deficiency. Cut back on watering and ensure pots have drainage holes. If the soil feels soggy, let it dry out before watering again. A balanced fertilizer (like 10-10-10) can also help revive growth. Avoid pruning during stress—wait until the plant recovers!
Wrapping up and next steps
Pruning your dipladenia plant doesn’t have to be intimidating—it’s all about timing, technique, and a little patience! 🌸 By following the right steps, you’ll encourage longer, healthier blooms and keep your plant thriving.
Whether you’re trimming for shape, size, or seasonal renewal, remember: confidence comes with practice, and your dipladenia will reward you with stunning flowers.
Ready to take the next step? Grab your shears, pick a sunny day, and give your plant the care it deserves! 🌿 For even more tips, explore our pruning guide or join a gardening community to share your progress.