Fertilization
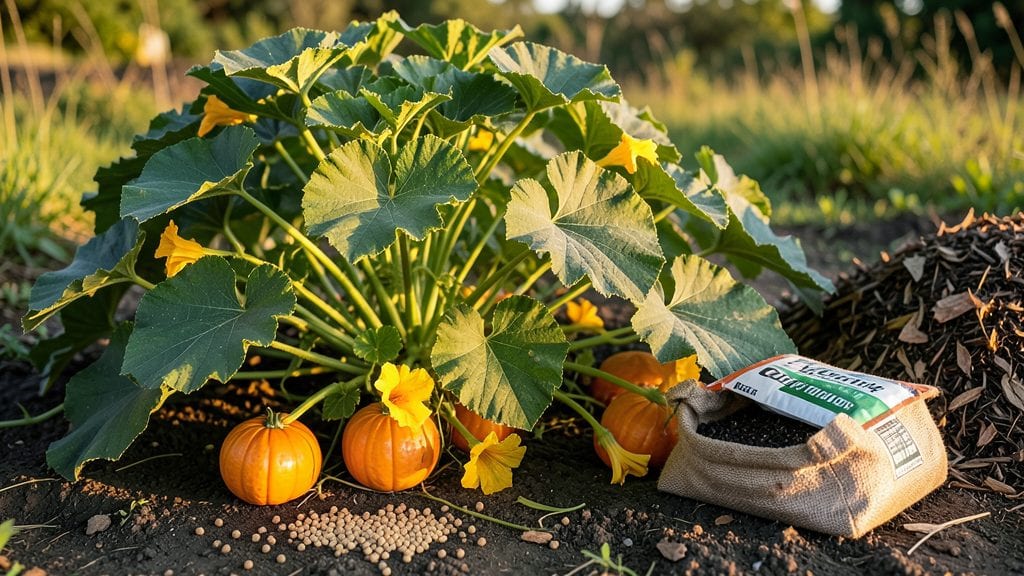
Fertilizing pumpkin plants the right way turns a handful of seeds into a 50-pound harvest—and the difference is in knowing when and what to feed them.
Struggling to grow pumpkins that thrive and produce bountiful harvests? The secret lies in mastering soil pH and nutrient timing—two critical factors that can transform your pumpkin patch from underwhelming to extraordinary.
Pumpkins 🎃 are heavy feeders, but they need the right balance: too much nitrogen and you get leafy vines with no fruit; too little phosphorus and your flowers drop. Below, I break down the exact fertilizer schedule, organic vs. synthetic options, and how to spot when your plants are hungry.
You’ll learn how to time applications for maximum growth, avoid common mistakes that kill yields, and even troubleshoot nutrient deficiencies before they become problems.
Optimal soil pH and nutrient requirements for pumpkin growth
Pumpkins are heavy feeders, demanding rich, fertile soil to produce those massive, show-stopping fruits. The foundation of success starts with soil pH between 6.0 and 7.0—slightly acidic to neutral—which ensures your plants can absorb all the nutrients they crave.
If your soil pH strays too far from this range, nutrient uptake suffers, leading to stunted growth or poor fruit development. Testing your soil before planting is a game-changer—it’s the first step to unlocking a bountiful pumpkin harvest.
Beyond pH, pumpkins need a precise balance of macronutrients like nitrogen, phosphorus, and potassium, along with micronutrients such as magnesium, calcium, and iron. Each nutrient plays a unique role at different growth stages—from leafy vine development to flower production and fruit maturation.
For example, too much nitrogen early on can result in lush foliage but few pumpkins, while phosphorus shortages during flowering can lead to weak vines and poor fruit set. Let’s break down what your pumpkins need at every stage and how to spot when something’s off.
| Growth Stage | Key Nutrient Needs | Soil pH Requirement | Signs of Deficiency | Signs of Excess |
|---|---|---|---|---|
| Seedling (0-4 weeks) | Nitrogen (N) for leaf growth | 6.0-6.5 | Yellowing lower leaves (chlorosis) | Stunted growth, weak stems |
| Vine Development (4-8 weeks) | Phosphorus (P) for root strength | 6.2-6.8 | Purple stems, slow vine spread | Excessive foliage, few flowers |
| Flowering (8-12 weeks) | Potassium (K) + Calcium (Ca) | 6.5-7.0 | Blossom-end rot, weak flowers | Leaf burn, stunted fruit |
| Fruiting (12+ weeks) | Magnesium (Mg) + Iron (Fe) | 6.8-7.0 | Yellowing between veins (Mg), pale leaves (Fe) | Bitter-tasting fruit, leaf scorch |
Let’s start with nitrogen, the building block of healthy foliage. During the early stages of growth (weeks 0-4), pumpkins need plenty of nitrogen to develop strong, green leaves that will fuel their rapid vine expansion. However, if you overdo it, you’ll end up with a jungle of leaves and no pumpkins. Aim for a balanced fertilizer like 10-10-10 (nitrogen-phosphorus-potassium) during this phase, but reduce nitrogen slightly as flowering approaches to encourage fruit production instead of leafy growth.
As your pumpkins transition into the vine development stage (weeks 4-8), phosphorus becomes critical. This nutrient strengthens roots and helps the plant establish a robust system to support heavy fruits later on. Signs of phosphorus deficiency include purple or dark red stems and slow vine spread.
To boost phosphorus, mix bone meal or rock phosphate into the soil before planting. Just be cautious—too much phosphorus can lock out other essential nutrients like zinc and iron, so always test your soil first.
When your pumpkins enter the flowering stage (weeks 8-12), potassium and calcium take center stage. Potassium enhances disease resistance and helps the plant transport nutrients and water, while calcium prevents blossom-end rot, a common issue where the bottom of pumpkins turn mushy and brown.
To ensure adequate calcium, side-dress with crushed eggshells or use a calcium nitrate fertilizer. If you notice weak flowers or deformed pumpkins, it’s a red flag that your plants are lacking these nutrients.
Finally, during the fruiting stage (weeks 12+), micronutrients like magnesium and iron become vital. Magnesium is essential for chlorophyll production, and a deficiency will show as yellowing between leaf veins (a condition called interveinal chlorosis). Iron, on the other hand, keeps leaves vibrant and green.
If your pumpkin leaves start looking pale or yellow, especially in younger leaves, it’s time to address an iron deficiency. Chelated iron or compost tea can work wonders here. Remember, micronutrient deficiencies often occur in alkaline soils, so maintaining that ideal pH of 6.0-7.0 is key.
One of the biggest mistakes gardeners make is ignoring soil pH adjustments. If your soil is too acidic (below 6.0), add lime to raise the pH, while sulfur or peat moss can lower it if it’s too alkaline (above 7.0).
Regular soil testing every 2-3 years will help you stay on top of these adjustments. Additionally, avoid over-fertilizing, as this can lead to nutrient burn, where leaves turn brown and crispy at the edges.
Always follow the recommended application rates on fertilizer packages and water thoroughly after applying to help nutrients penetrate the soil.
For organic gardeners, compost and well-aged manure are excellent sources of nutrients. Work in a 2-3 inch layer of compost before planting to improve soil structure and provide a slow-release nutrient boost.
You can also use fish emulsion or seaweed extract during the growing season for a gentle, nutrient-rich foliar feed. These organic amendments not only feed your pumpkins but also improve soil health for future plantings.
If you’re growing pumpkins in containers, choose a high-quality potting mix with added compost and consider using a slow-release fertilizer to maintain consistent nutrient levels.
Monitor your pumpkins closely throughout the growing season, and don’t hesitate to adjust your fertilizer approach based on what you observe. For instance, if your pumpkins are growing slowly despite plenty of foliage, they might need more phosphorus or potassium.
Conversely, if the leaves are dark green and lush but flowers are sparse, it’s likely time to reduce nitrogen and increase phosphorus.
By paying attention to these visual cues and maintaining that perfect soil pH, you’ll be well on your way to growing pumpkins that are the envy of the neighborhood.
Step-by-step fertilizer application timeline for pumpkin plants
Pumpkins are heavy feeders, and their nutrient needs change dramatically from seedling to harvest. A well-timed fertilizer plan ensures strong vines, abundant flowers, and massive fruits. I’ve grown hundreds of pumpkins and learned that organic vs. synthetic fertilizers require different approaches—especially during critical growth stages.
The key is balancing nitrogen for leaves, phosphorus for roots, and potassium for fruit development.
For organic gardeners, compost tea and worm castings provide slow-release nutrients, while synthetic fertilizers offer precise NPK ratios. Below, I’ll break down the exact timing and methods to maximize your pumpkin’s potential, whether you’re using store-bought granules or homemade amendments.
🌱 Step-by-Step Fertilizer Timeline
-
Pre-Planting (4-6 Weeks Before Sowing)
Test soil pH (6.0-7.0 ideal). Amend with aged compost (2-3 inches) or balanced 10-10-10 fertilizer (1 lb per 100 sq ft). For organics, mix in worm castings (1 cup per plant) and kelp meal (1 tbsp per sq ft) for micronutrients.
-
Seedling Stage (First 4 Weeks)
Use a low-nitrogen fertilizer (5-5-5 or 3-4-6) to avoid leggy growth. Side-dress with fish emulsion (1 tbsp per plant) or compost tea every 2 weeks. Keep soil moist but not waterlogged.
-
Flowering Stage (Weeks 5-7)
Shift to a phosphorus-heavy feed (e.g., 3-8-6) to boost root and flower development. Apply bone meal (1 tbsp per plant) or rock phosphate (2 tbsp per sq ft). For synthetics, use a bloom booster (10-30-20) every 3 weeks.
-
Fruiting Stage (Weeks 8-12)
Prioritize potassium-rich fertilizers (e.g., 2-4-8 or wood ash) to prevent blossom-end rot. Feed every 2 weeks with liquid seaweed or potassium sulfate. Avoid nitrogen—it causes leafy growth at the expense of fruit.
-
DIY Compost Tea (Organic Boost)
Steep 1 part compost in 5 parts water for 24-48 hours. Strain and spray foliarly during flowering and fruiting. Add molasses (1 tbsp per gallon) to activate microbes. Use within 4 hours to prevent mold.
-
Final Feed (Weeks 10-12)
Apply a low-nitrogen, high-potassium mix (e.g., banana peel tea or greensand) to harden fruit rinds. Stop fertilizing 4-6 weeks before first frost to allow pumpkins to mature.
Organic gardeners can also use chicken manure compost (aged for 6+ months) as a base fertilizer, working it into the soil at planting. For synthetics, slow-release granules (like Osmocote) reduce the risk of over-fertilizing. Always water thoroughly after application to prevent root burn.
Pro tip: Monitor your pumpkins for yellowing leaves (nitrogen deficiency) or purple stems (phosphorus deficiency). Adjust your fertilizer ratios immediately—pumpkins forgive mistakes early but not during fruiting. With this timeline, you’ll go from tiny seeds to jack-o’-lanterns in record time! 🎃