Fertilization
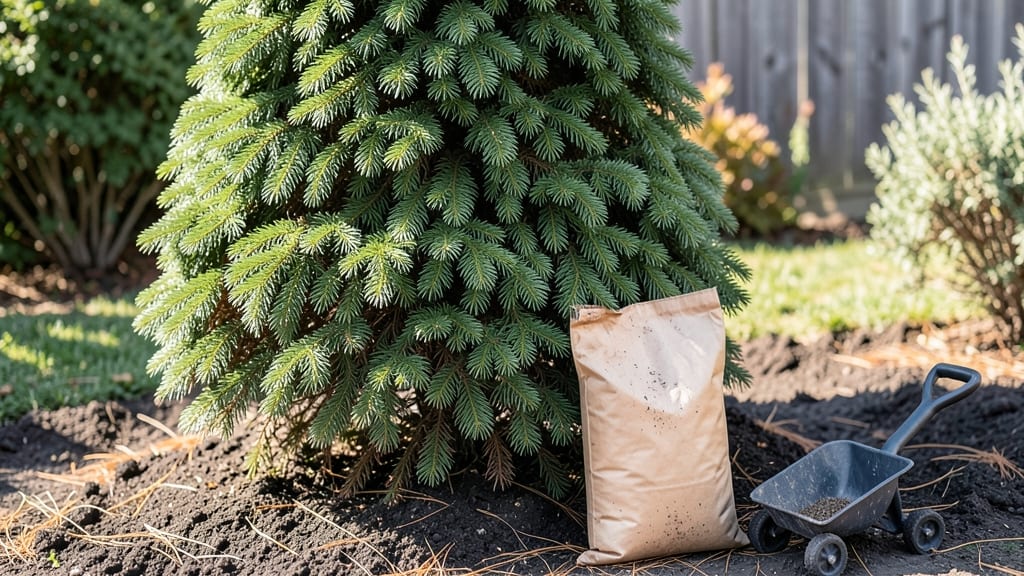
The right arborvitae plant food can turn your thin, scraggly shrubs into thick, vibrant walls of green year after year. 🌿 I’ve seen it happen—after just one growing season, my arborvitae went from sad and sparse to full and lush, all thanks to the slow-release nutrients that feed them steadily without burning their roots.
You don’t need a PhD in horticulture to pick the right fertilizer—just a few key ingredients. Look for a balanced formula with nitrogen, phosphorus, and potassium (like a 10-10-10 or 12-4-8), and consider organic options like fish emulsion or compost if you prefer natural inputs.
The slow-release part is critical: it prevents sudden spikes that can scorch your plants and ensures steady growth all season long.
By spring, you’ll notice new growth at the tips of branches, and by fall, your arborvitae will stand taller and denser than ever. The best part?
You’ll spend less time fussing over watering and more time admiring the results. Just remember: less is more—overdoing it leads to brown needles and wasted money.
Whether you’re dealing with a new planting or reviving an older shrub, the same principles apply. Start with a soil test to check for deficiencies, then feed your arborvitae with confidence. You’ll have a green, thriving privacy screen in no time.
📚 In This Guide
- What you need
- Instructions
- Tips and common mistakes
- Wrapping up and next steps
What you need
- ● Slow-release arborvitae fertilizer (20-25 lb bag, look for NPK ratios like 12-6-6 or 16-4-8)
- ● Garden gloves (nitrile or leather for protection)
- ● Measuring scoop or spreader (for even application)
- ● Garden hose with shutoff nozzle (for watering post-application)
- ● Pruning shears (to trim dead or overgrown branches before fertilizing)
- ● Broadcast spreader (for large arborvitae hedges, calibrated for granular fertilizer)
- ● Soil pH test kit (to check acidity before fertilizing; arborvitae prefer pH 6.0–7.0)
- ● Mulch (pine straw or shredded bark) (1–2 inches thick to retain moisture and nutrients)
- ● Watering can with rose attachment (for spot-watering in dry climates)
- ● Garden kneeler or stool (for comfort when working near the base of plants)
How to feed arborvitae for healthy, year-long foliage
Here's the straightforward approach I use to keep my arborvitae thriving with minimal effort.
🌱 Step 1: Choose the Right Slow-Release Fertilizer
For arborvitae, I always pick a balanced, slow-release granular fertilizer (like 10-10-10 or 12-12-12) specifically formulated for evergreens. These plants don't need heavy feeding—they prefer steady, low-intensity nutrition. Avoid quick-release fertilizers; they can burn delicate roots and cause needle browning.
Look for a product labeled for acid-loving plants or evergreens. Arborvitae thrive in slightly acidic soil (pH 6.0-7.0), and the wrong fertilizer can throw off that balance. I spread about 1 pound of fertilizer per 100 square feet of planting area—less is always better with these trees.
💧 Step 2: Apply Fertilizer in Early Spring
Timing matters most with arborvitae. I apply fertilizer in early spring, right as new growth begins but before the first flush of fresh needles. This gives roots time to establish before the plant puts energy into foliage. Water the tree deeply the day before applying fertilizer to help distribute nutrients evenly.
Use a spreaders (like a broadcast or drop spreader) to distribute the granules evenly in a 3-foot radius around the tree's drip line. Avoid piling fertilizer directly against the trunk—this can cause root burn. After spreading, water the area again to activate the granules and wash any excess away from the base.
☀️ Step 3: Reapply in Mid-Summer for Year-Round Health
Arborvitae don’t need heavy feeding, but a second light application in mid-summer (around July) helps maintain color and vigor. Use half the early spring amount—about ½ pound per 100 square feet—to avoid over-fertilizing. This timing supports the tree as it prepares for winter dormancy.
Watch for signs of over-fertilization: yellowing needles, brown tips, or excessive new growth. If you see these, flush the soil with extra water and reduce future applications. Healthy arborvitae should have deep green, firm needles with no discoloration.
✂️ Step 4: Mulch and Monitor for Long-Term Success
After fertilizing, add a 2-3 inch layer of mulch (like pine bark or shredded leaves) around the base, keeping it 6 inches away from the trunk. Mulch helps retain moisture and regulates soil temperature, which arborvitae appreciate. Replenish mulch annually to maintain this protective layer.
Check the tree’s health seasonally: prune any dead or diseased branches in late winter, and water deeply during droughts (when the top 2 inches of soil feel dry). Arborvitae are drought-tolerant once established, but consistent moisture keeps foliage lush. Avoid heavy pruning—these trees grow best with a natural, full shape.
Tips & tricks for perfect arborvitae care
A few simple tricks will help you keep your arborvitae thriving with vibrant, year-round foliage.
The Right Fertilizer Matters: When selecting your slow-release granular fertilizer, pay attention to the NPK ratio (like 10-10-10). The "balanced" ratio ensures your arborvitae gets equal parts nitrogen for growth, phosphorus for root development, and potassium for overall health. I've found that arborvitae respond best to formulations specifically labeled for acid-loving plants—this matches their natural soil preferences.
Timing is Everything: The early spring application in Step 2 is crucial because arborvitae need time to establish roots before putting energy into new growth. If you miss this window, don't worry—just apply it as soon as you notice new growth beginning. The mid-summer application (around July) is equally important for maintaining color and vigor as the tree prepares for winter dormancy. This two-step approach mimics natural nutrient cycles.
Application Technique: When using your spreader in Step 2, work in concentric circles starting from the tree's base and moving outward to the 3-foot radius. This ensures even distribution without missing spots. After applying, water thoroughly to activate the granules and prevent any potential root burn from granules sitting too close to the trunk. I always use a gentle rain setting on my hose to avoid disturbing the soil too much.
Mulch Maintenance: The 2-3 inch layer of mulch in Step 4 isn't just decorative—it's essential for moisture retention and temperature regulation. I recommend pine bark mulch because it naturally breaks down slowly and maintains the slightly acidic environment arborvitae prefer. Keep that 6-inch clearance from the trunk to prevent moisture buildup that can cause rot. Refresh your mulch annually to maintain its protective properties.
Pro Tips for Arborvitae Plant Food
- A few simple tricks will help you keep your arborvitae thriving with vibrant, year-round foliage.
- The Right Fertilizer Matters: When selecting your slow-release granular fertilizer, pay attention to the NPK ratio (like 10-10-10).
- Timing is Everything: The early spring application in Step 2 is crucial because arborvitae need time to establish roots before putting energy into new growth.
Frequently asked questions
Got questions about keeping your arborvitae thriving with the right plant food? Here are answers to the most common queries—so you can avoid guesswork and give your evergreens the care they deserve!
When is the best time to fertilize arborvitae?
Apply slow-release arborvitae plant food in early spring (March–April) when new growth begins, and again in late summer (August–September) to support fall hardening. Avoid fertilizing in winter or extreme heat, as roots may struggle to absorb nutrients.
How often should I fertilize my arborvitae?
For most arborvitae, twice a year (spring and late summer) is ideal if using slow-release granules. If your tree looks nutrient-deficient (yellowing needles, stunted growth), a third light application in early fall may help—but follow package instructions to avoid overfeeding.
Can I use regular lawn fertilizer instead of arborvitae-specific plant food?
While balanced, slow-release fertilizer (10-10-10 or 20-20-20) can work in a pinch, arborvitae thrive best with acid-loving plant food (like those labeled for evergreens or rhododendrons). Regular lawn fertilizer may lack micronutrients like iron or manganese, leading to deficiencies over time.
What if my arborvitae’s needles turn brown after fertilizing?
Brown needles often signal over-fertilization or root burn. Stop feeding immediately, water deeply to flush excess salts, and prune damaged foliage. For future applications, halve the recommended dose and water thoroughly before and after applying plant food.
Are there organic alternatives to synthetic arborvitae plant food?
Yes! Try compost, fish emulsion, or pine-foliage fertilizer (like cottonseed meal) for organic options. Coffee grounds (sprinkled lightly around the base) also acidify soil naturally. Just ensure the soil pH stays between 5.0–6.5—test it with a kit if unsure.
Wrapping up and next steps
Choosing the right arborvitae plant food with slow-release nutrients is key to keeping your evergreen thriving year-round! 🌿 Whether you opt for organic options like fish emulsion or balanced synthetic fertilizers, consistency and proper application will reward you with vibrant, healthy foliage.
With the right care, your arborvitae will stand tall and lush for seasons to come.
Ready to give your arborvitae the best? Start by picking your fertilizer, following the application steps, and monitoring your plant’s progress. Happy gardening—your green oasis awaits! 🌱