Size
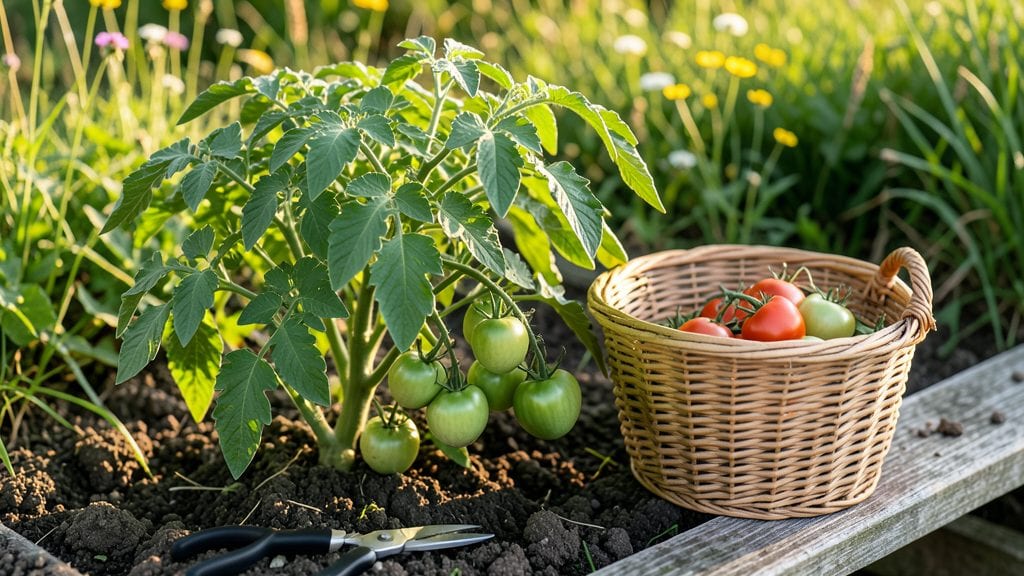
Growing food plants in small spaces isn't just possible—it's how I feed my family fresh greens, tomatoes, and herbs all year, even on a balcony. The key is matching the right plants to your light, space, and climate, then keeping them happy with simple routines.
My first attempt with overcrowded basil taught me that spacing matters more than most beginners realize.
You'll need containers with drainage, a mix of potting soil and compost, and a way to extend light if your space is shady. I use 5-gallon buckets for tomatoes, hanging pockets for lettuce, and stackable planters for herbs—all under 6 feet of space.
The biggest game-changer? A grow light on a timer for winter months when natural light fades.
Within 4-6 weeks, you'll harvest crisp lettuce, sweet cherry tomatoes, and fragrant basil that outshines anything store-bought. The secret is consistent watering (keep soil moist but not soggy) and rotating plants every few weeks to prevent legginess. Even in winter, with the right setup, your plants will keep producing.
This works for apartments, rooftops, or sunny windowsills—no yard required. Once you master the basics, you can expand to year-round crops like kale, microgreens, and dwarf peppers. Let's get those small spaces growing!
📚 In This Guide
- What you need
- Instructions
- Tips and common mistakes
- Wrapping up and next steps
What you need
- ● Containers: 5–10 5–10 gallon grow bags or fabric pots (for drainage), or stackable planters (if space is tight).
- ● Growing Medium: 1–2 bags of high-quality potting mix (avoid garden soil—it compacts!).
- ● Perlite or vermiculite (1–2 cups per container) for aeration.
- ○ Coco coir or worm castings (optional, for extra nutrients).
- ● Seeds or Seedlings: Fast-growing varieties like lettuce, herbs (basil, mint), cherry tomatoes, or microgreens (pick 3–5 types for rotation).
- ● Heirloom or organic seeds (if you prefer non-GMO).
- ● Lighting: LED grow lights (full-spectrum, 10–20W per plant) or a south-facing window (if natural light is abundant).
- ● Reflective surfaces (foil or white paint) to maximize light in dim spaces.
- ● Watering Tools: A spray bottle (for seedlings) + a watering can with a fine rose (to avoid disturbing soil).
- ○ Moisture meter (optional but helpful for overwatering prevention).
- ● Fertilizer: Balanced liquid fertilizer (e.g., 10-10-10) or fish emulsion (for organic growers).
- ● Slow-release granules (mix into soil at planting).
- ● Support Structures: Coffee stirrers or bamboo stakes (for vining plants like cucumbers).
- ● Trellis or hanging net (for vertical growth).
- ● Self-watering planters (for travel or busy schedules).
- ● Grow tent or greenhouse kit (to extend seasons in cold climates).
- ● Compost bin (to recycle kitchen scraps into fertilizer).
- ● Plant labels + a journal (to track varieties and harvest dates).
- ● Pruning shears (for trimming herbs or leggy plants).
Instructions for maximizing food production in compact growing spaces
Turn limited square footage into a high-yield harvest with these space-smart strategies.
Optimize Vertical Real Estate
Install wall-mounted planters along sunny walls to utilize vertical space efficiently. I recommend using stackable fabric grow bags for leafy greens like kale and Swiss chard, as they expand upward naturally. Position shelves or tiered racks near windows to create 3-tiered growing stations—each level can support a different crop, like herbs on top and root vegetables below.
For maximum light penetration, ensure the tallest plants face the strongest light source. You’ll see immediate results when plants grow toward the light, filling gaps that would otherwise remain empty. This method lets you grow four times more in the same footprint as traditional ground planting.
Select Fast-Maturing, High-Yield Varieties
Prioritize compact, bush-type vegetables that produce abundantly in small containers. Cherry tomatoes, bush beans, and dwarf peppers thrive in 5-gallon buckets, while lettuce and radishes grow well in 2-inch-deep trays. I always choose heirloom or hybrid varieties labeled "bush" or "dwarf" to avoid sprawling plants that need excessive space.
Look for short-day or day-neutral plants when extending seasons—these adapt better to indoor lighting and don’t require strict photoperiods. You’ll notice faster harvests and fewer wasted resources when selecting the right varieties for your micro-climate.
Implement a Rotating Crop Calendar
Plan a 12-week succession schedule to ensure continuous harvests. Start with fast growers like radishes and lettuce, followed by medium-cycle crops such as bush beans and peas, then slower producers like kale and carrots. I use a color-coded planting chart to track each crop’s lifecycle, preventing overcrowding and maximizing soil use.
Rotate crops every 4-6 weeks to maintain soil health and prevent disease buildup. For example, plant a batch of lettuce, then replace it with radishes once the greens reach harvest size. This keeps your space productive year-round without fallow periods.
Use Hydroponic or Soilless Systems for Efficiency
Set up a deep-water culture (DWC) system or Kratky method for leafy greens and herbs—they thrive without soil while using 90% less water. These systems allow roots to access nutrients directly, speeding up growth and reducing waste. I’ve seen basil and spinach mature in half the time compared to traditional soil methods.
For root vegetables, use coco coir-based growing mediums in stackable towers to save space. These systems drain well and retain moisture, making them ideal for small spaces. Monitor nutrient levels weekly to avoid deficiencies—you’ll know it’s time to adjust when leaves yellow or growth stalls.
Supplement with Artificial Light Strategically
Place full-spectrum LED grow lights on adjustable arms to target specific plants. Position them 6-12 inches above the canopy, depending on intensity, and adjust as plants grow. I use a 14-hour photoperiod for most vegetables, extending natural daylight in winter or low-light spaces.
Focus additional light on shade-tolerant crops like parsley or mint if natural light is limited. You’ll see stronger stems and denser foliage when plants receive consistent, high-quality light. Avoid overlighting—too much can cause leaf burn, so monitor closely during peak hours.
Tips & tricks for maximizing food production in compact growing spaces
Transforming limited space into a thriving food garden requires strategic thinking—and these insights will help you avoid common pitfalls while optimizing every inch.
Light Placement Strategy: In Step 5, when positioning your full-spectrum LED grow lights, pay special attention to the 6-12 inch distance recommendation. Use a small ruler or measuring tape to maintain precise spacing—too close causes leaf burn, while too far reduces photosynthesis efficiency. I've found that adjusting lights every 2-3 days as plants grow prevents both issues while maximizing light exposure. For multi-level setups, focus additional light on lower tiers where natural light may be blocked by upper plants.
Soil Health Optimization: The 4-6 week crop rotation schedule in Step 3 isn't just about preventing disease—it's also a nutrient management strategy. I recommend keeping a simple soil journal noting which nutrients each crop depletes most (for example, leafy greens use more nitrogen). After each harvest, add a 1-inch layer of compost to replenish what was used, particularly before planting heavy feeders like tomatoes or peppers in the next cycle. This maintains soil fertility without requiring expensive amendments.
Vertical Space Efficiency: When implementing the 3-tiered growing stations in Step 1, consider the weight capacity of your shelves. I've learned this the hard way—overloaded shelves can sag, causing drainage issues and root rot. For the top tier, use lightweight fabric grow bags filled with 25-30% less soil than you would for ground planting. The middle tier can support slightly heavier containers with root vegetables, while the bottom tier handles the heaviest buckets. This weight distribution prevents structural failures while maximizing vertical real estate.
Hydroponic System Maintenance: The 90% water reduction benefit of hydroponic systems in Step 4 comes with a critical caveat: nutrient solution pH must be monitored weekly. I've seen systems fail spectacularly when pH drifts outside the 5.5-6.5 range—plants either starve or develop toxic buildup. Keep a small pH test kit handy and adjust with dedicated hydroponic nutrients rather than household vinegar or bleach, which can introduce harmful contaminants. This simple check prevents costly system failures while maintaining that water efficiency.
Pro Tips for Plant Grow Food
- Transforming limited space into a thriving food garden requires strategic thinking—and these insights will help you a...
- Light Placement Strategy: In Step 5, when positioning your full-spectrum LED grow lights, pay special attention to th...
- Soil Health Optimization: The 4-6 week crop rotation schedule in Step 3 isn't just about preventing disease—it's also...
Frequently asked questions
Got questions about growing your own food in small spaces? You’re not alone! Here are answers to the most common concerns—because every gardener deserves a thriving harvest, no matter their setup.
Can I grow food indoors year-round with just a windowsill?
Yes! Start with herbs (basil, parsley), leafy greens (lettuce, spinach), and microgreens—they thrive in bright windowsills (4+ hours of sunlight). For dimmer spots, add a small LED grow light (6–8 inches above plants). Rotate pots weekly for even growth. Pro tip: Use reflective surfaces (foil on walls) to maximize light!
How long does it take to see food from seeds vs. seedlings?
| Method | Time to Harvest | Best For |
|---|---|---|
| Seeds | 4–12 weeks | Leafy greens, radishes, beans |
| Seedlings | 2–8 weeks | Tomatoes, peppers, broccoli |
Seedlings speed up harvests, but seeds save money. Fastest wins: Radishes (3 weeks!) and green onions (2 weeks).
What’s the cheapest way to start a small food garden?
Skip expensive setups! Repurpose:
- Containers: Milk jugs, old boots, or fabric grow bags (free from thrift stores).
- Soil: Mix compost (free from local farms) with coconut coir or peat moss.
- Seeds: Save seeds from store-bought veggies (tomatoes, peppers) or swap with neighbors.
My plants are wilting—what’s wrong, and how do I fix it?
Wilted leaves usually mean one of these:
- Underwatering: Stick your finger in soil—if dry 1 inch down, water deeply. Use a tray to catch excess.
- Overwatering: Yellow leaves + mushy stems? Let soil dry between waterings. Drainage is key!
- Pests: Check for aphids (tiny green bugs) or spider mites (webby threads). Spray with soapy water or neem oil.
- Light issues: Leggy plants? Move them closer to light (or upgrade to a grow bulb).
What’s the easiest “no-fail” food to grow in small spaces?
Pick these low-maintenance champions for beginners:
- Green onions: Regrow from scraps in water (harvest in 2 weeks!).
- Cherry tomatoes: Compact varieties (like ‘Tiny Tim’) thrive in 5-gallon pots.
- Lettuce: Cut-and-come-again types (like ‘Black Seeded Simpson’) grow in shallow trays.
- Herbs (basil, cilantro): Snip leaves as needed—they keep producing!
Wrapping up and next steps
Growing your own food in small spaces isn’t just possible—it’s empowering! 🌱 With the right year-round hacks, you can turn even a tiny balcony or windowsill into a thriving garden, saving money and enjoying fresher, healthier meals.
Whether you’re a beginner or a seasoned green thumb, every small step—like choosing compact plants, maximizing vertical space, or using grow lights—brings you closer to a self-sufficient harvest.
Ready to dive in? Start with one simple plant—like herbs, microgreens, or dwarf tomatoes—and watch your confidence (and garden!) grow. Your future self—and your taste buds—will thank you! 🌟